
Create QXP Templates for PDF Publishing
Steps to Create/Update Page Layouts in QXP
In Quark Publishing Platform, you have access to a range of predefined page layouts available within the QXP template. For example, below is the A-Front Cover page layout which comes default configured in default QXP Template in QPP.

Follow the steps given below:
-
Open the OOTB template.
-
Open "Page Layouts" Palette, and select the type of column flow you want to flow the content in.
-
If the page layout is in one column, you can use the master pages B-One Col-First, B-One Col-Rest, and B-One Col-Last.
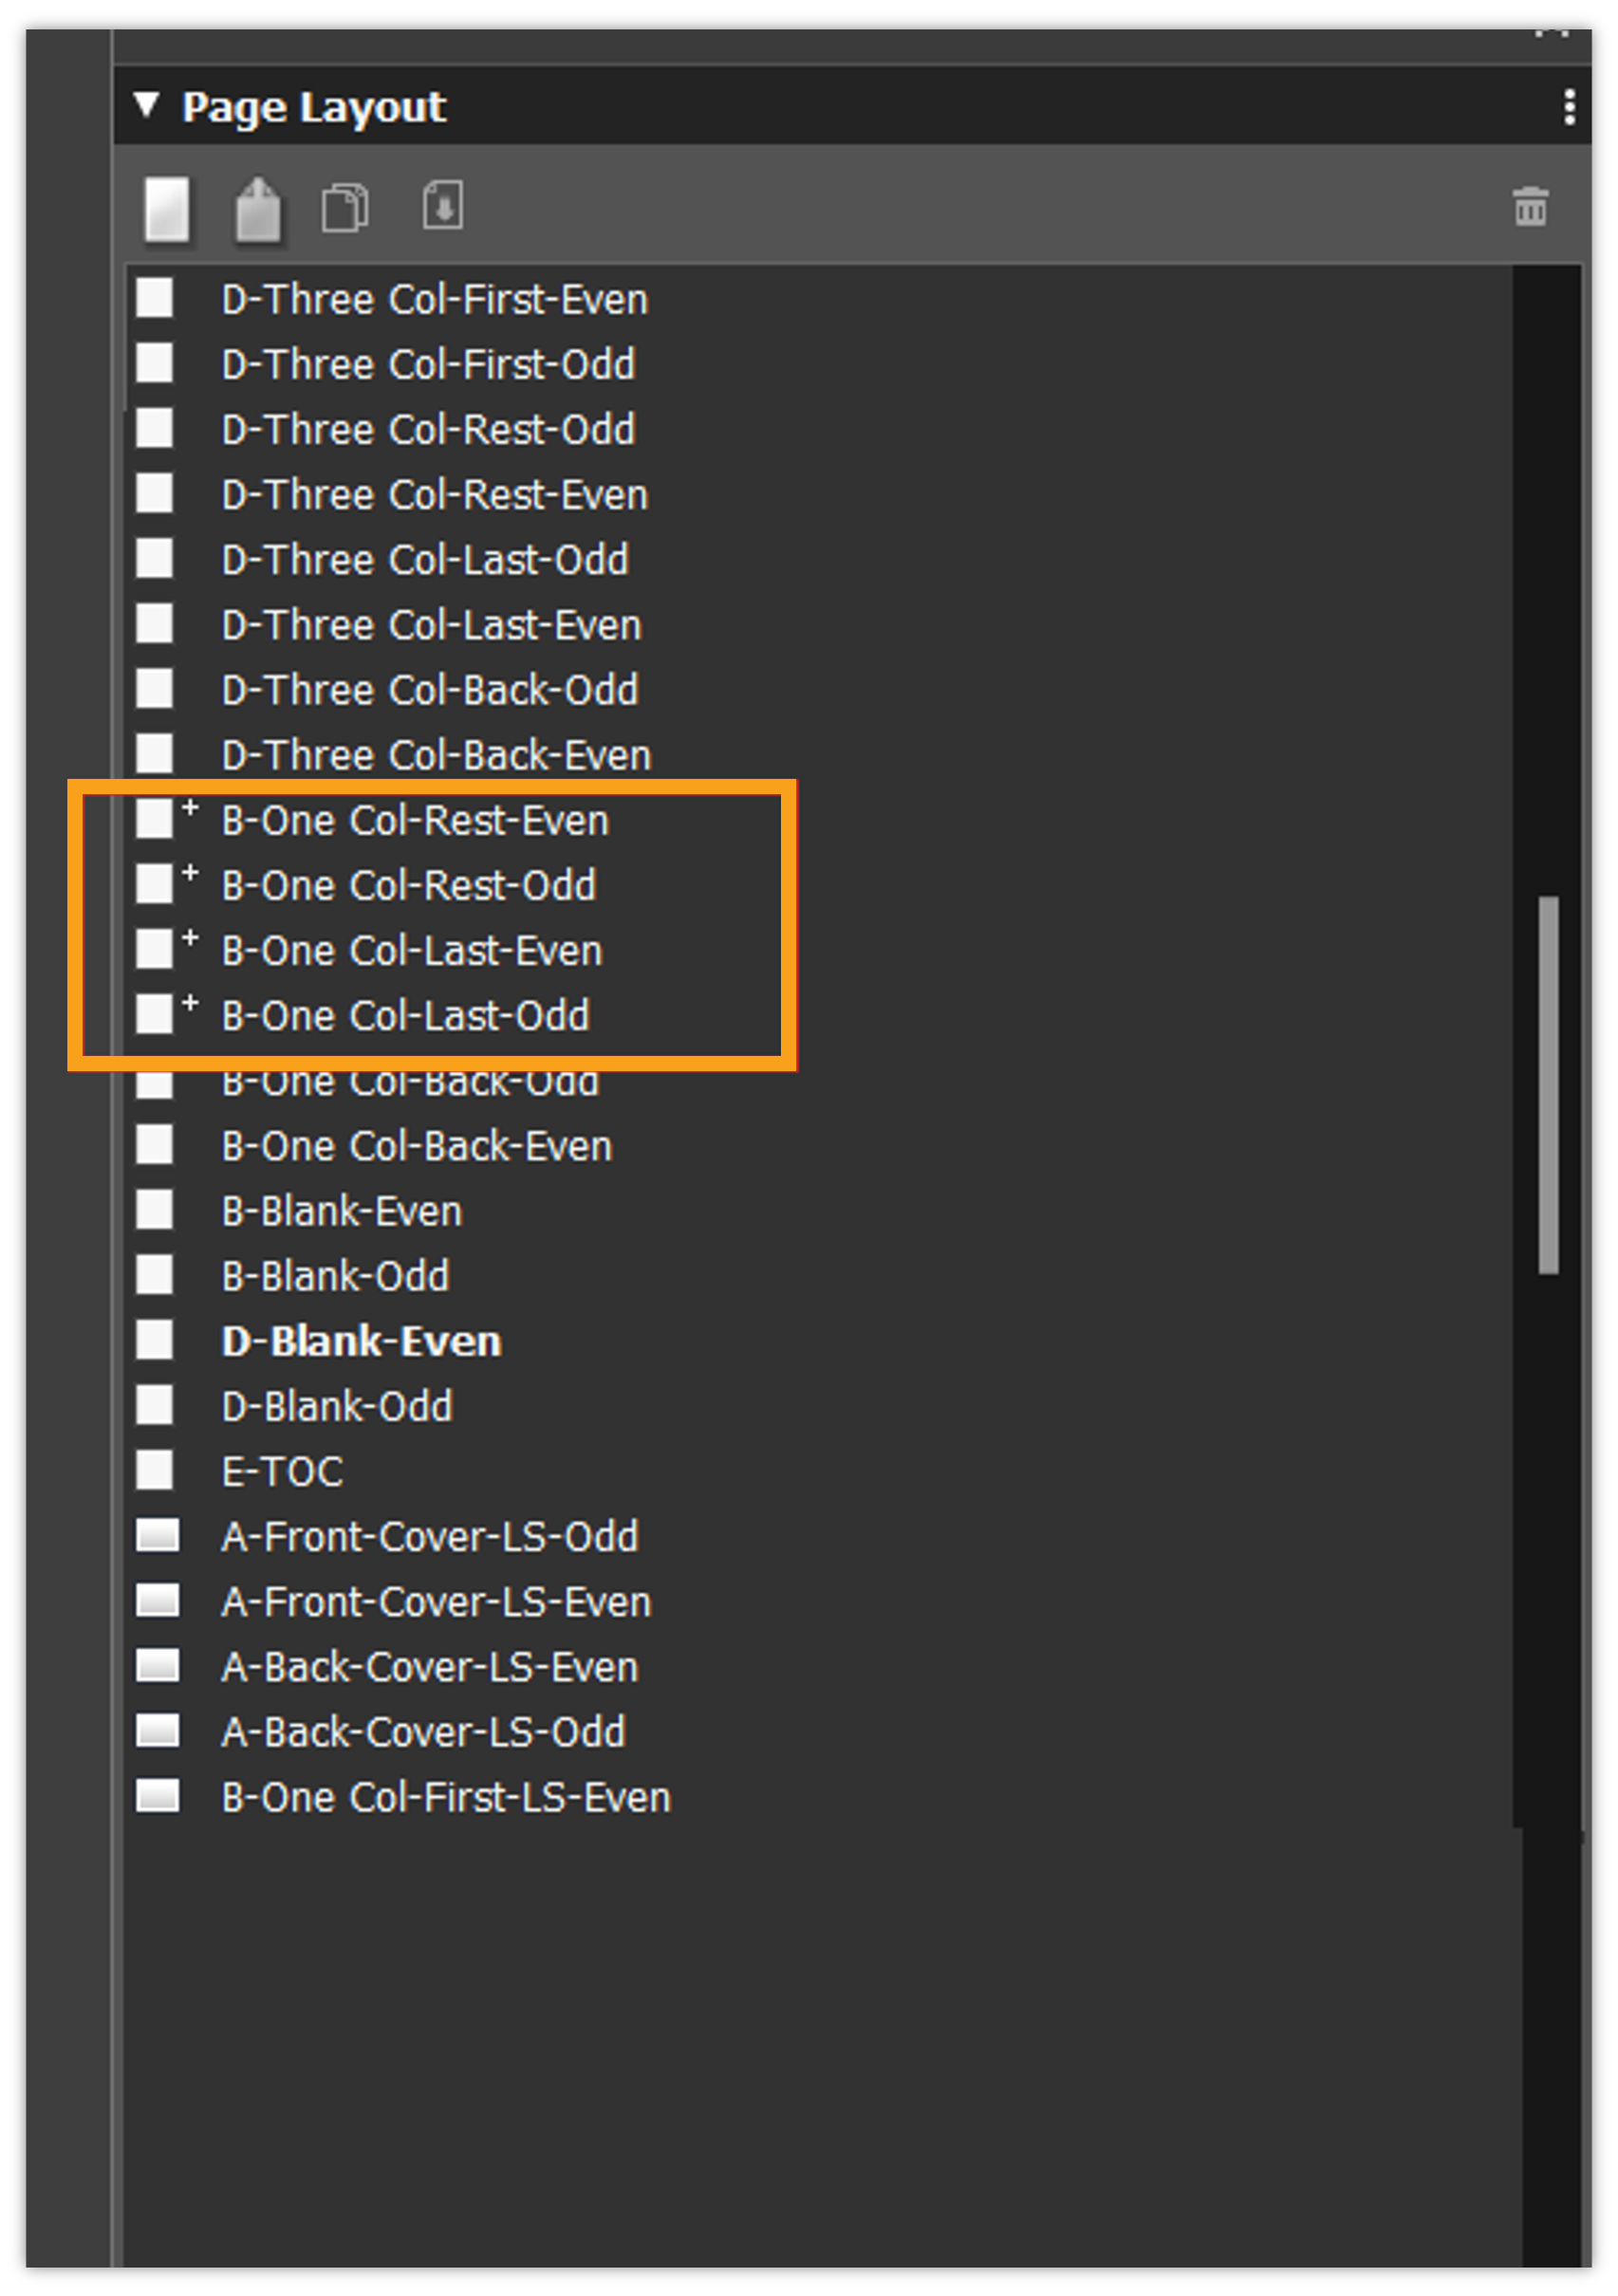 Please note that these pages are just for example. You can use any master page present in the page layout palette.
-
In case for 2 column layouts, you can use the master pages C-Two Col-First, C-Two Col-Rest, and C-Two Col-Last.

-
Define the layout as per the requirement.
-
Save the document.
-
Update the revision of the template on the server.
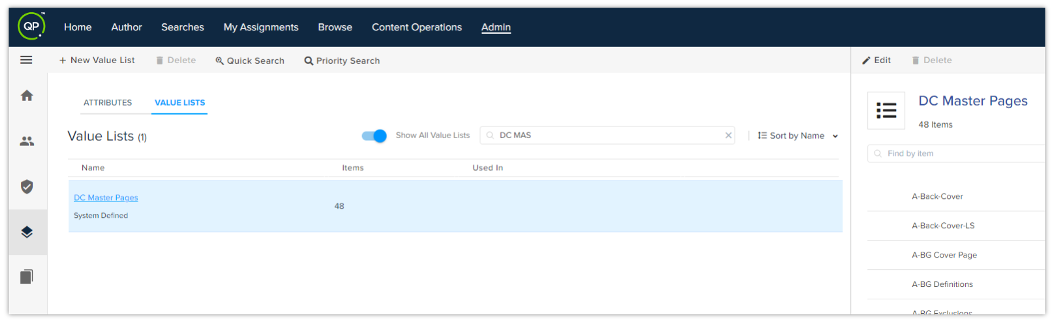
In case you want to add a new master page, make sure to add it in the value list on the QPP server.
Steps to Create Paragraph Style Sheets in QXP
-
Open the OOTB template.
-
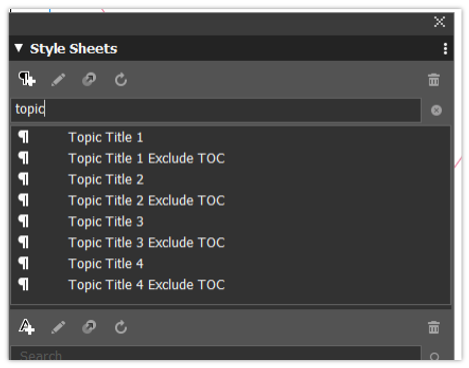
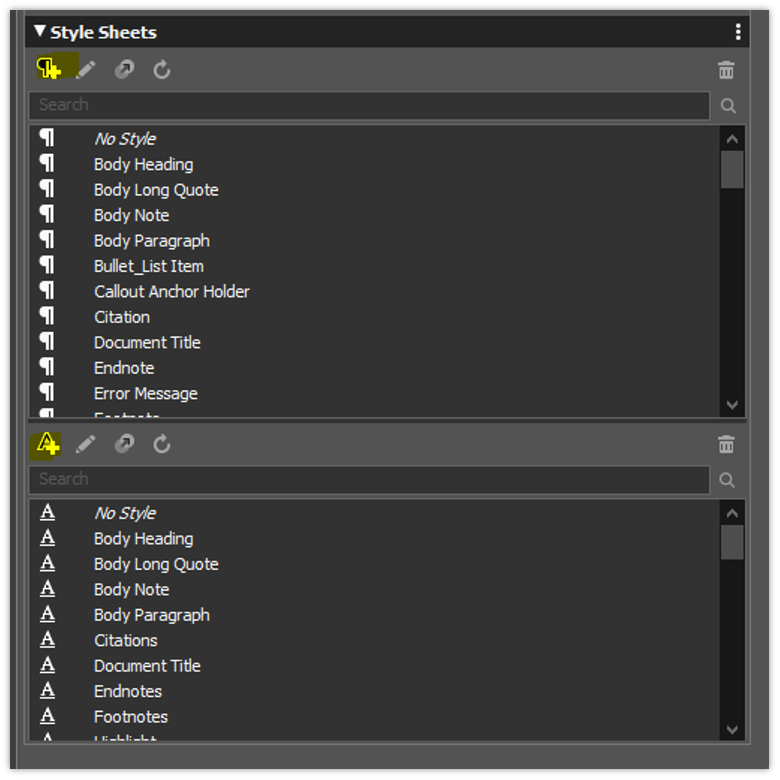
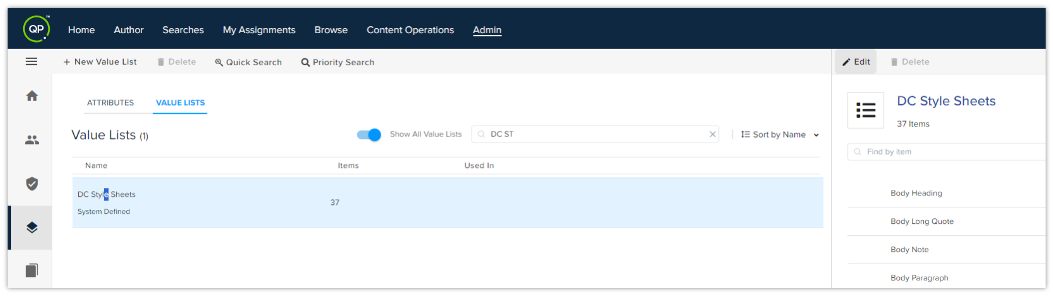
Modify the paragraph stylesheets according to the requirement.
-
For example, if you want to modify section level 1 and section level 2 title styles, edit stylesheets "Topic Title 1" and "Topic Title 2".

-
-
In case you're creating a new paragraph stylesheet, make sure to add it in the value list on the QPP server.
Steps to Create Character Style Sheets in QXP
-
Open the OOTB template.
-
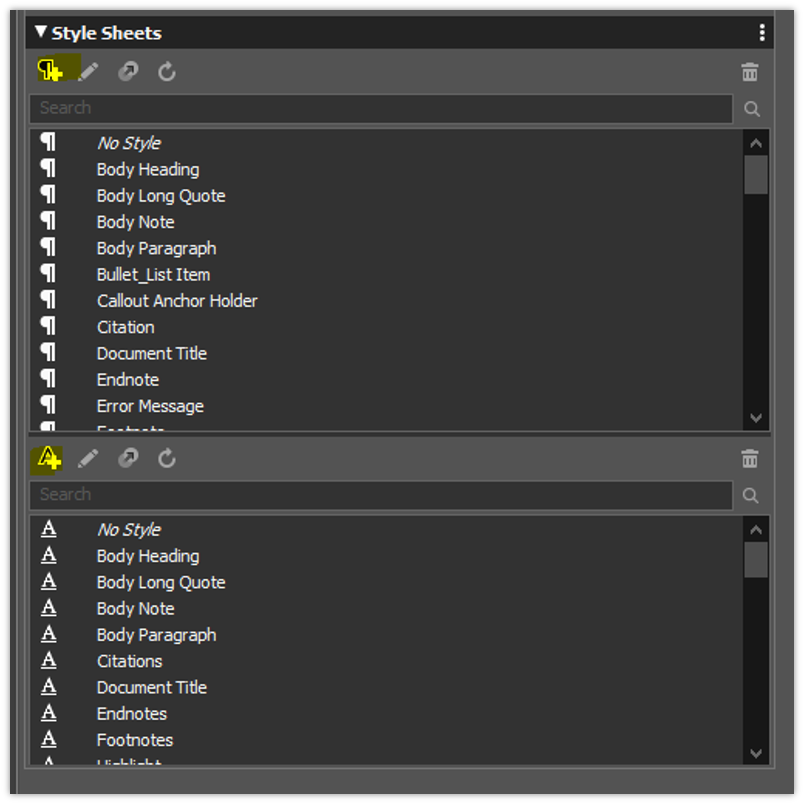
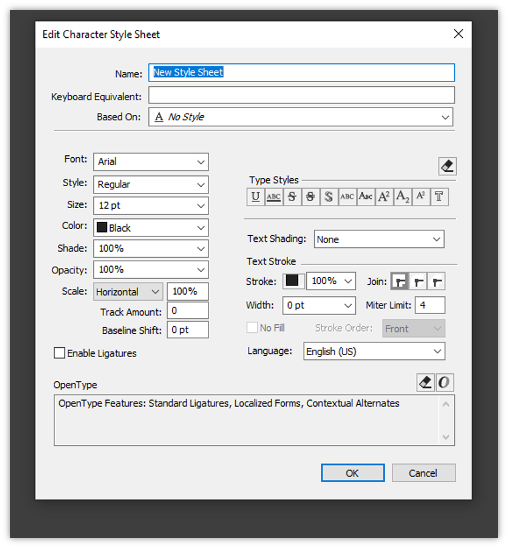
Modify the character stylesheets according to the requirement.
-
For example, if you want to modify section level 1 and section level 2 title styles, edit stylesheets "Topic Title 1" and "Topic Title 2".
-
-
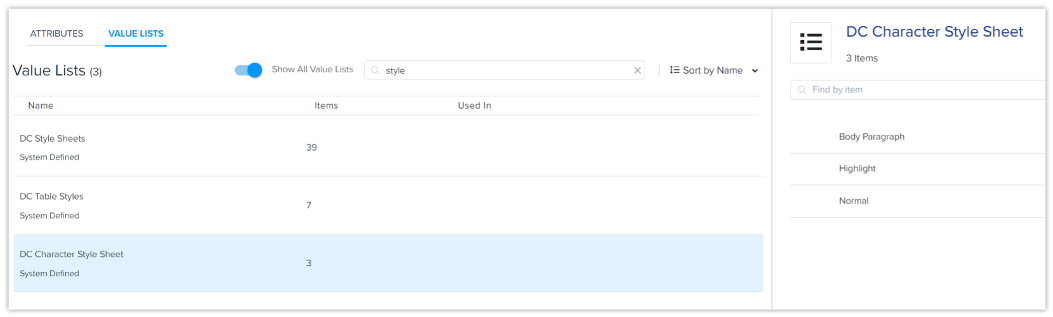
In case you're creating a new character stylesheet, make sure to add it in the value list on the QPP server.
How to Use Callouts in Layout Options in QXP
-
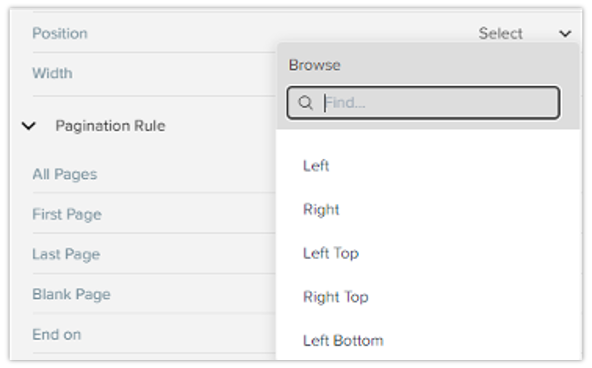
The layout options consist of a default list of the callout styles to place figures, regions etc at a specific position.
-
In case you want to modify these callouts, open the callouts palette in QXP, and after saving the template, update the revision on the server.
How to Create/Update Table Styles in QXP
In Quark Publishing Platform, you have access to a range of predefined table styles available within the QXP template. The list is given below:
-
Column Header style
-
Default
-
First Row Column Style
-
No Border Style
-
Row Header Style
-
Smart Table
-
Smart Table with Excel Styles
These styles cover common table formatting needs and can be easily applied to any table in the document. However, if custom table styles are required to meet specific formatting requirements, you can follow the steps below to create and apply personalized table styles.
-
Accessing Table Styles
-
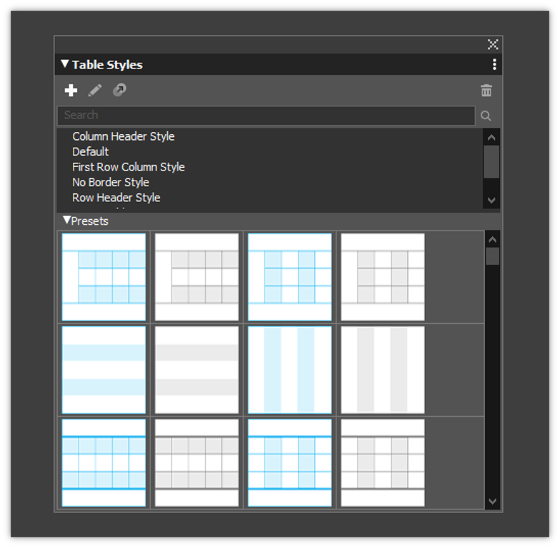
Open the QXP editor and locate the Table Styles palette and open it.
-
-
Viewing Existing Table Styles
-
A dialog box will appear, showing a list of all predefined table styles currently available within the QXP template. These styles can be applied directly or used as a reference for creating new styles.
-
-
Creating a New Table Style
-
To create a custom style, click on the Plus (+) button in the Table Styles dialog box.
-
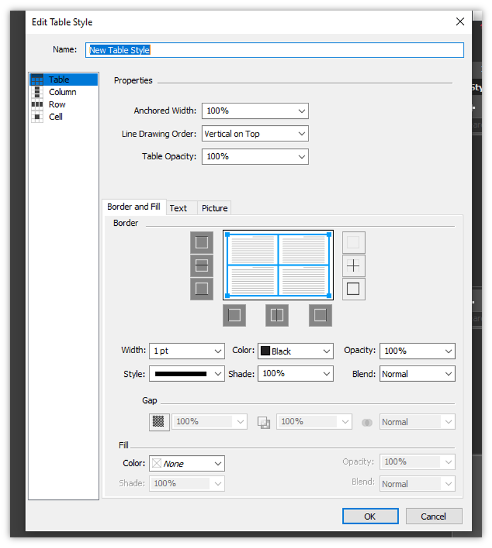
This action will open a new dialog box dedicated to custom table style settings.
-
-
Customizing Table Style Properties
-
In the dialog box, you'll see various customization options organized by Table, Column, Row, and Cell properties.
-
Adjust these properties to match the design requirements:
-
Table Properties: Set overall table borders, background colors, and spacing.
-
Column Properties: Customize column widths, spacing, and alignment.
-
Row Properties: Define row height, borders, and background options.
-
Cell Properties: Set specific cell padding, text alignment, and color options.
-
-
After configuring these properties, save the style to make it available for use in any table within the document.
-
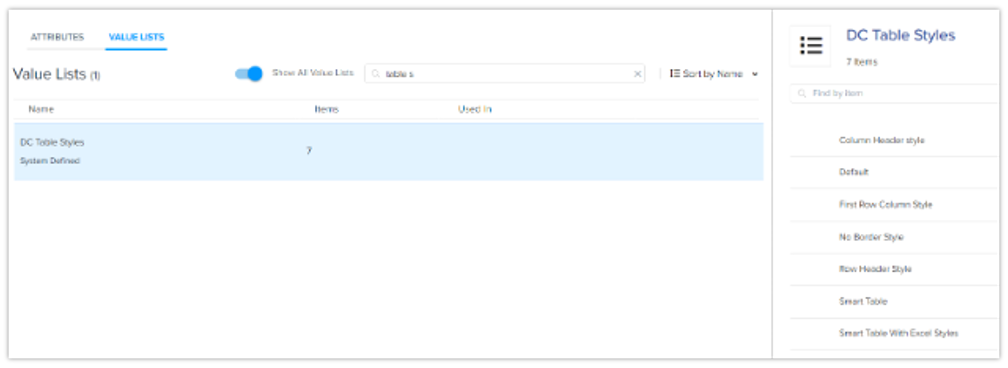
In case you're creating a new table of style, make sure to add it in the value list on the QPP server.
Important Notes
-
The out-of-the-box (OOTB) template includes default stylesheets, callout styles, and page layouts. To save time, you can modify the existing stylesheets and layouts.
-
The default styles applied to sections are:
-
Section Level 1: Topic Title 1
-
Section Level 2: Topic Title 2
-
Section Level 3: Topic Title 3
-
Section Level 4: Topic Title 4
-
Default List Style: Numbered_List Item
-
Default Bullet Style: Bullet_List Item
-
Document Title: Document Title
-
Table of Contents (TOC) Heading: TOC Title
-
-
To change the styling of a Section Level 1 title, go to the Stylesheets palette and modify the "Topic Title 1" stylesheet.
-
In the "QXP_TEMPLATE_URI" channel parameter, specify the path to the collection where the document is stored.