Setup
To set up the DOCX Converter, you must perform the following steps –
-
Firstly, you need to install the DOCX Converter tool
-
Create a collection structure on the server repository to set up the path for dynamic configuration
-
Upload configuration files to the collections as per dynamic configuration
-
Launch the DOCX Converter tool and sync it with you QPP NextGen server repository
Install DOCX Converter
The DOCX Converter installation process is as follows –
-
Download the installer package provided by the Quark team and extract it.
-
Double-click on the installer file and then follow the on-screen instructions to complete the installation.
-
Once the installation is complete, the app launcher icon for DOCX Converter becomes available (in the Start menu on Windows and in Finder > Applications on Mac).
Set up the path for dynamic configuration
There are two ways to set up the path for dynamic configuration: automatic and manual.
-
Automatic creation: To facilitate automatic creation of setup files required for DOCX Converter, ensure that the option for generating StyleMapping file is enabled during the environment deployment process. Once activated, the system will automatically generate StyleMapping file on the server each time a new content model is established. If not done, you can contact Quark Support for the configuration process.
It is essential to link the content model to a content type during the content model creation to initiate the StyleMapping file generation process. -
Manual creation: For manual creation, follow the steps given below -
-
After installing the DOCX Converter tool successfully on your system, you must set up the path to store a few necessary dynamic configuration files.
-
In QPP NextGen, the default path is set as
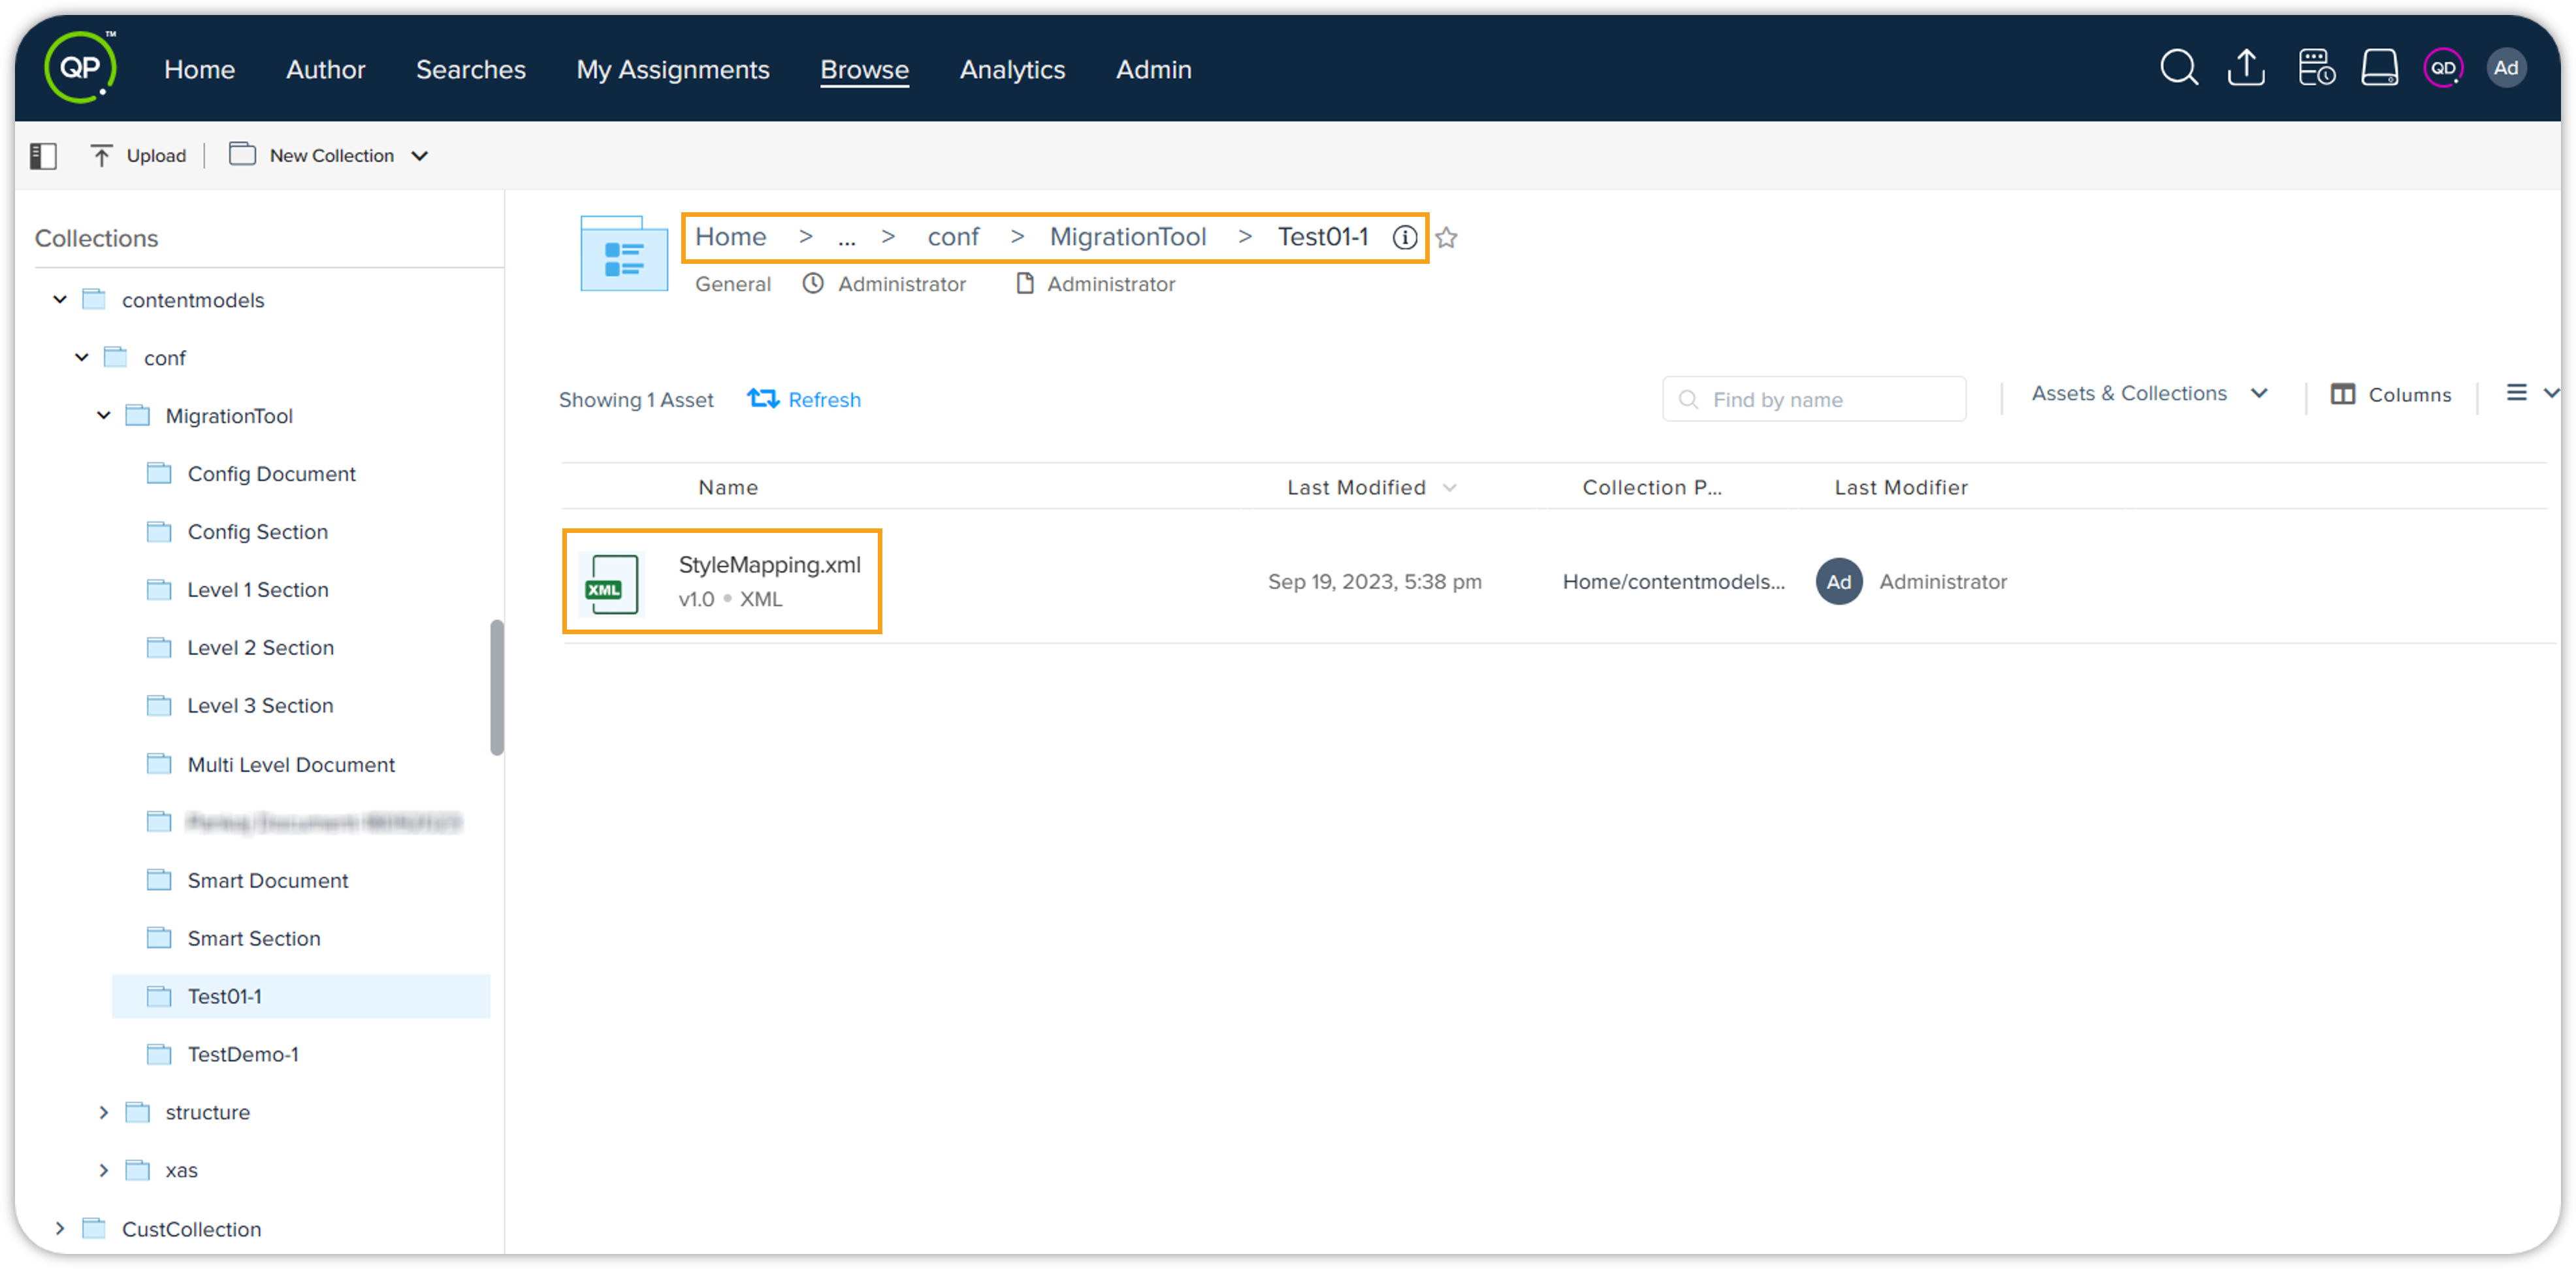
$Root> contentmodels > conf > MigrationTool. Therefore, on your QPP NextGen server, the collection structure for dynamic configuration should look like this –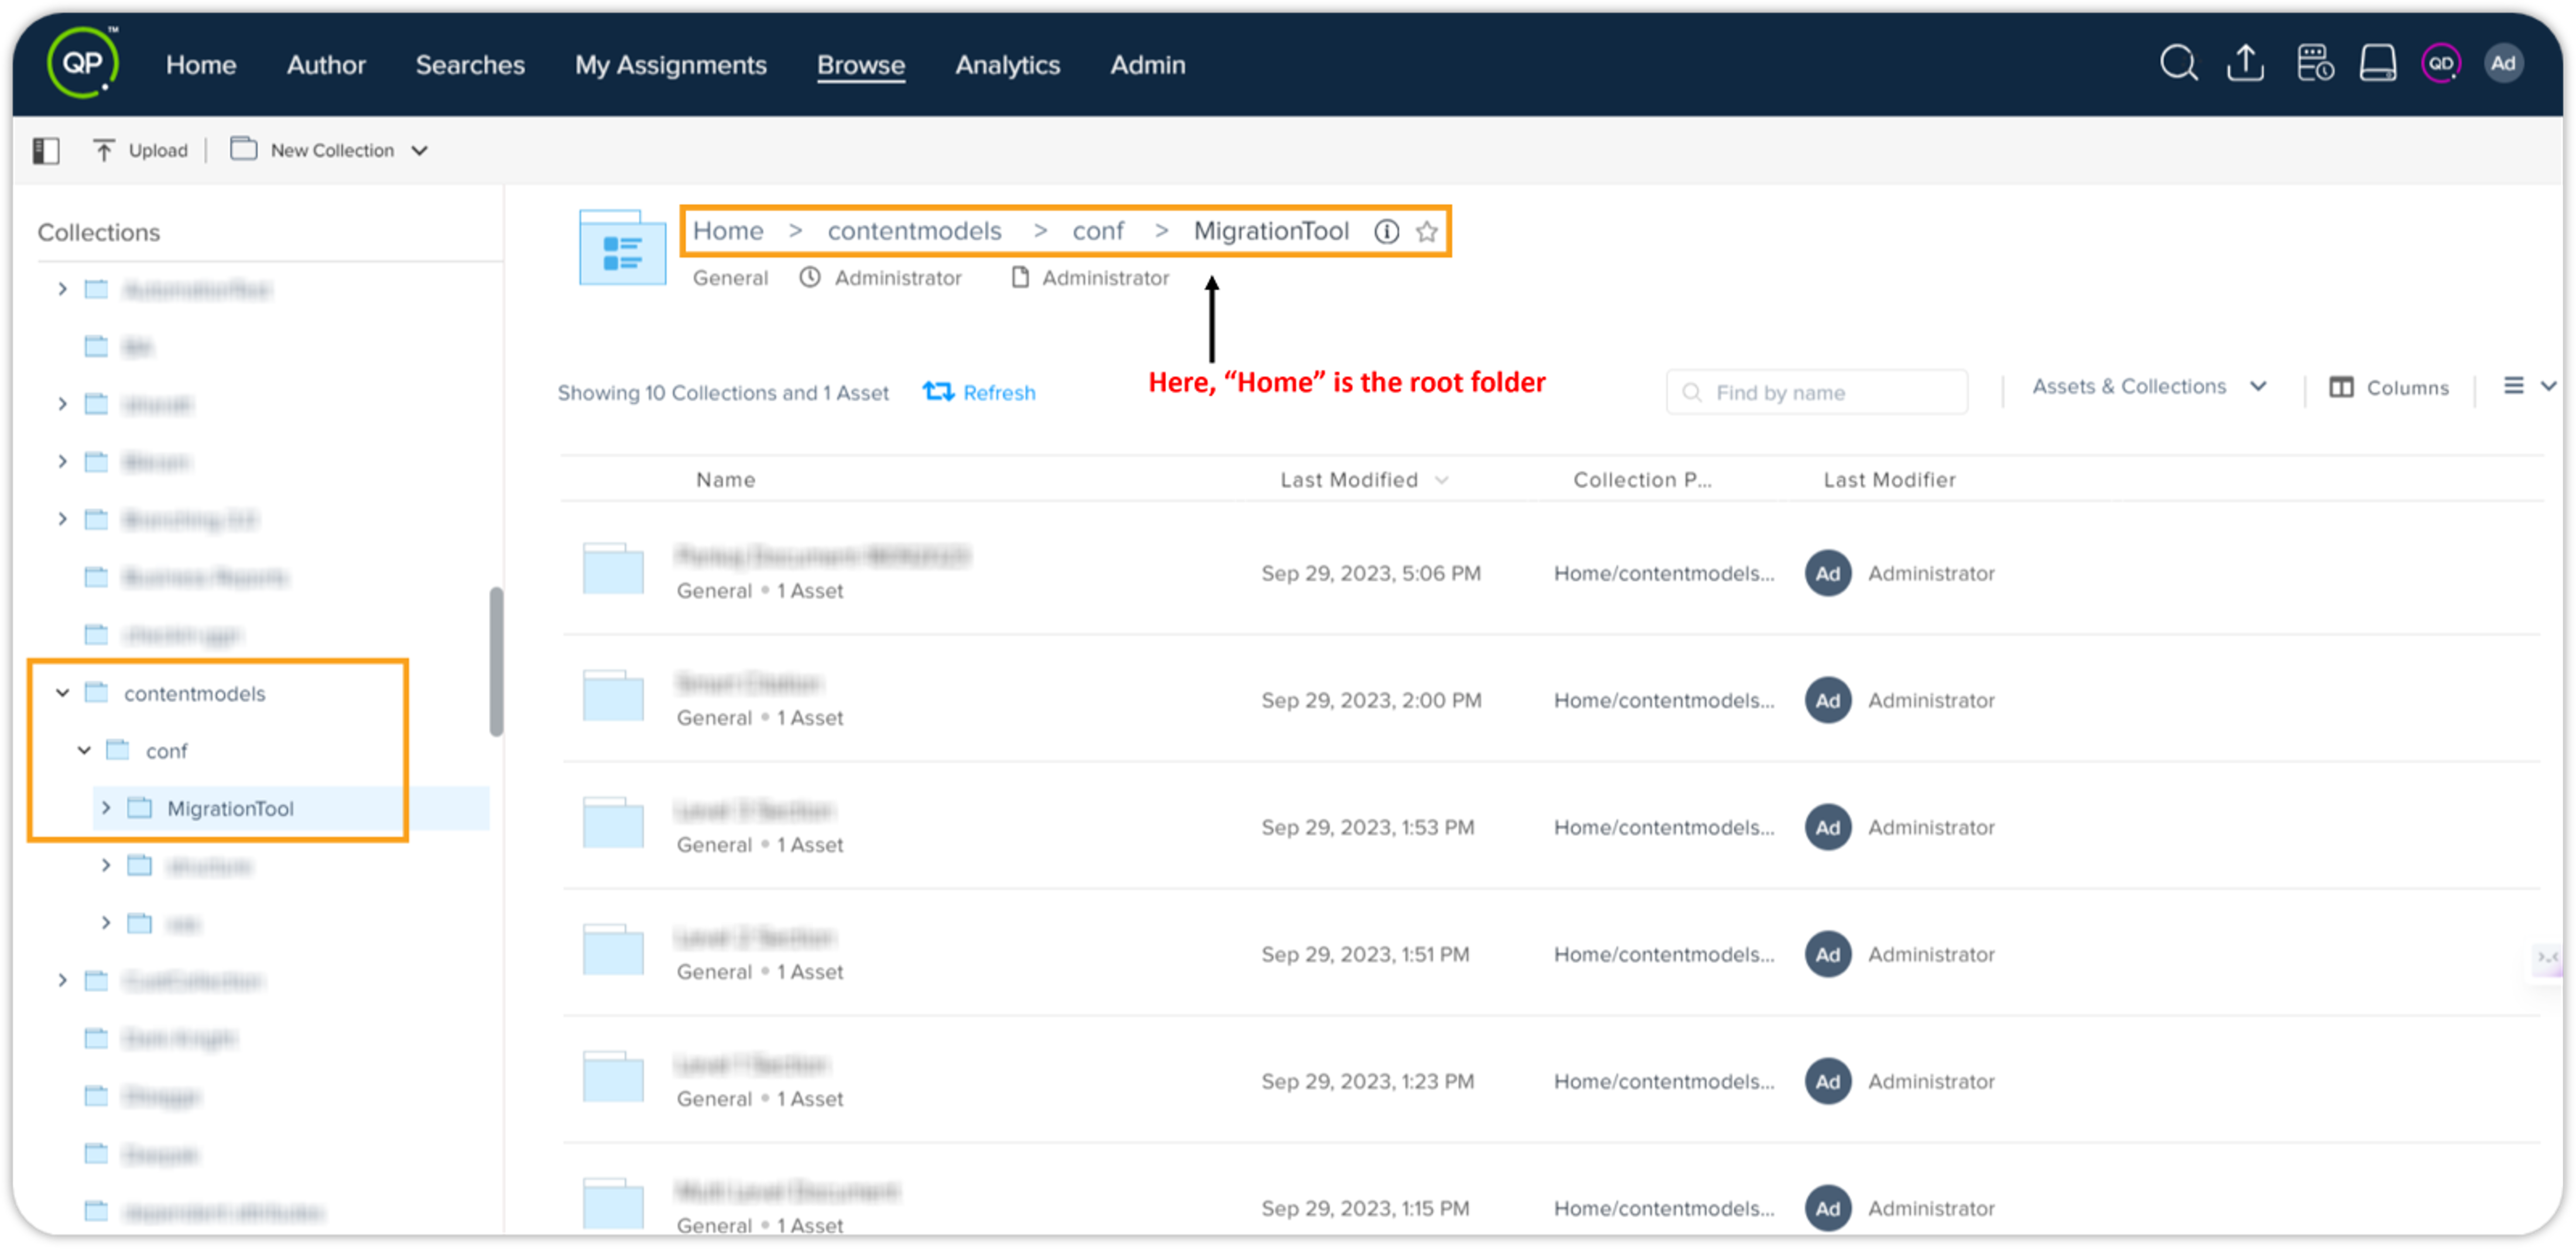 The path for dynamic configuration files may differ based on the settings of your QPP NextGen server repository.
-
In the collection MigrationTool, create a sub-collection with the name of the content model for which you want to support in DOCX Converter. In this sub-collection, configuration files related to the content model are to be stored.
-
Upload configuration files as per dynamic configuration
On installing the DOCX Converter tool, several configuration files become available in the Program Files folder of your local machine. You are required to upload the following configuration files to the dynamic configuration collection on your QPP NextGen server repository. These files are as follows –
-
AppConfig.xml: It contains several application-level and document-level configurations in default settings mode, which you can upload to set the server as is, if the default settings are good for you.
-
StyleMapping.xml: It contains content model-specific configurations, which you must modify based on the structure of your content model before uploading to the server.
The steps required to upload these files are as follows –
Upload AppConfig.xml
-
On your local machine, go to the location
$Root> Program Files > Quark > QPP NextGen > configs.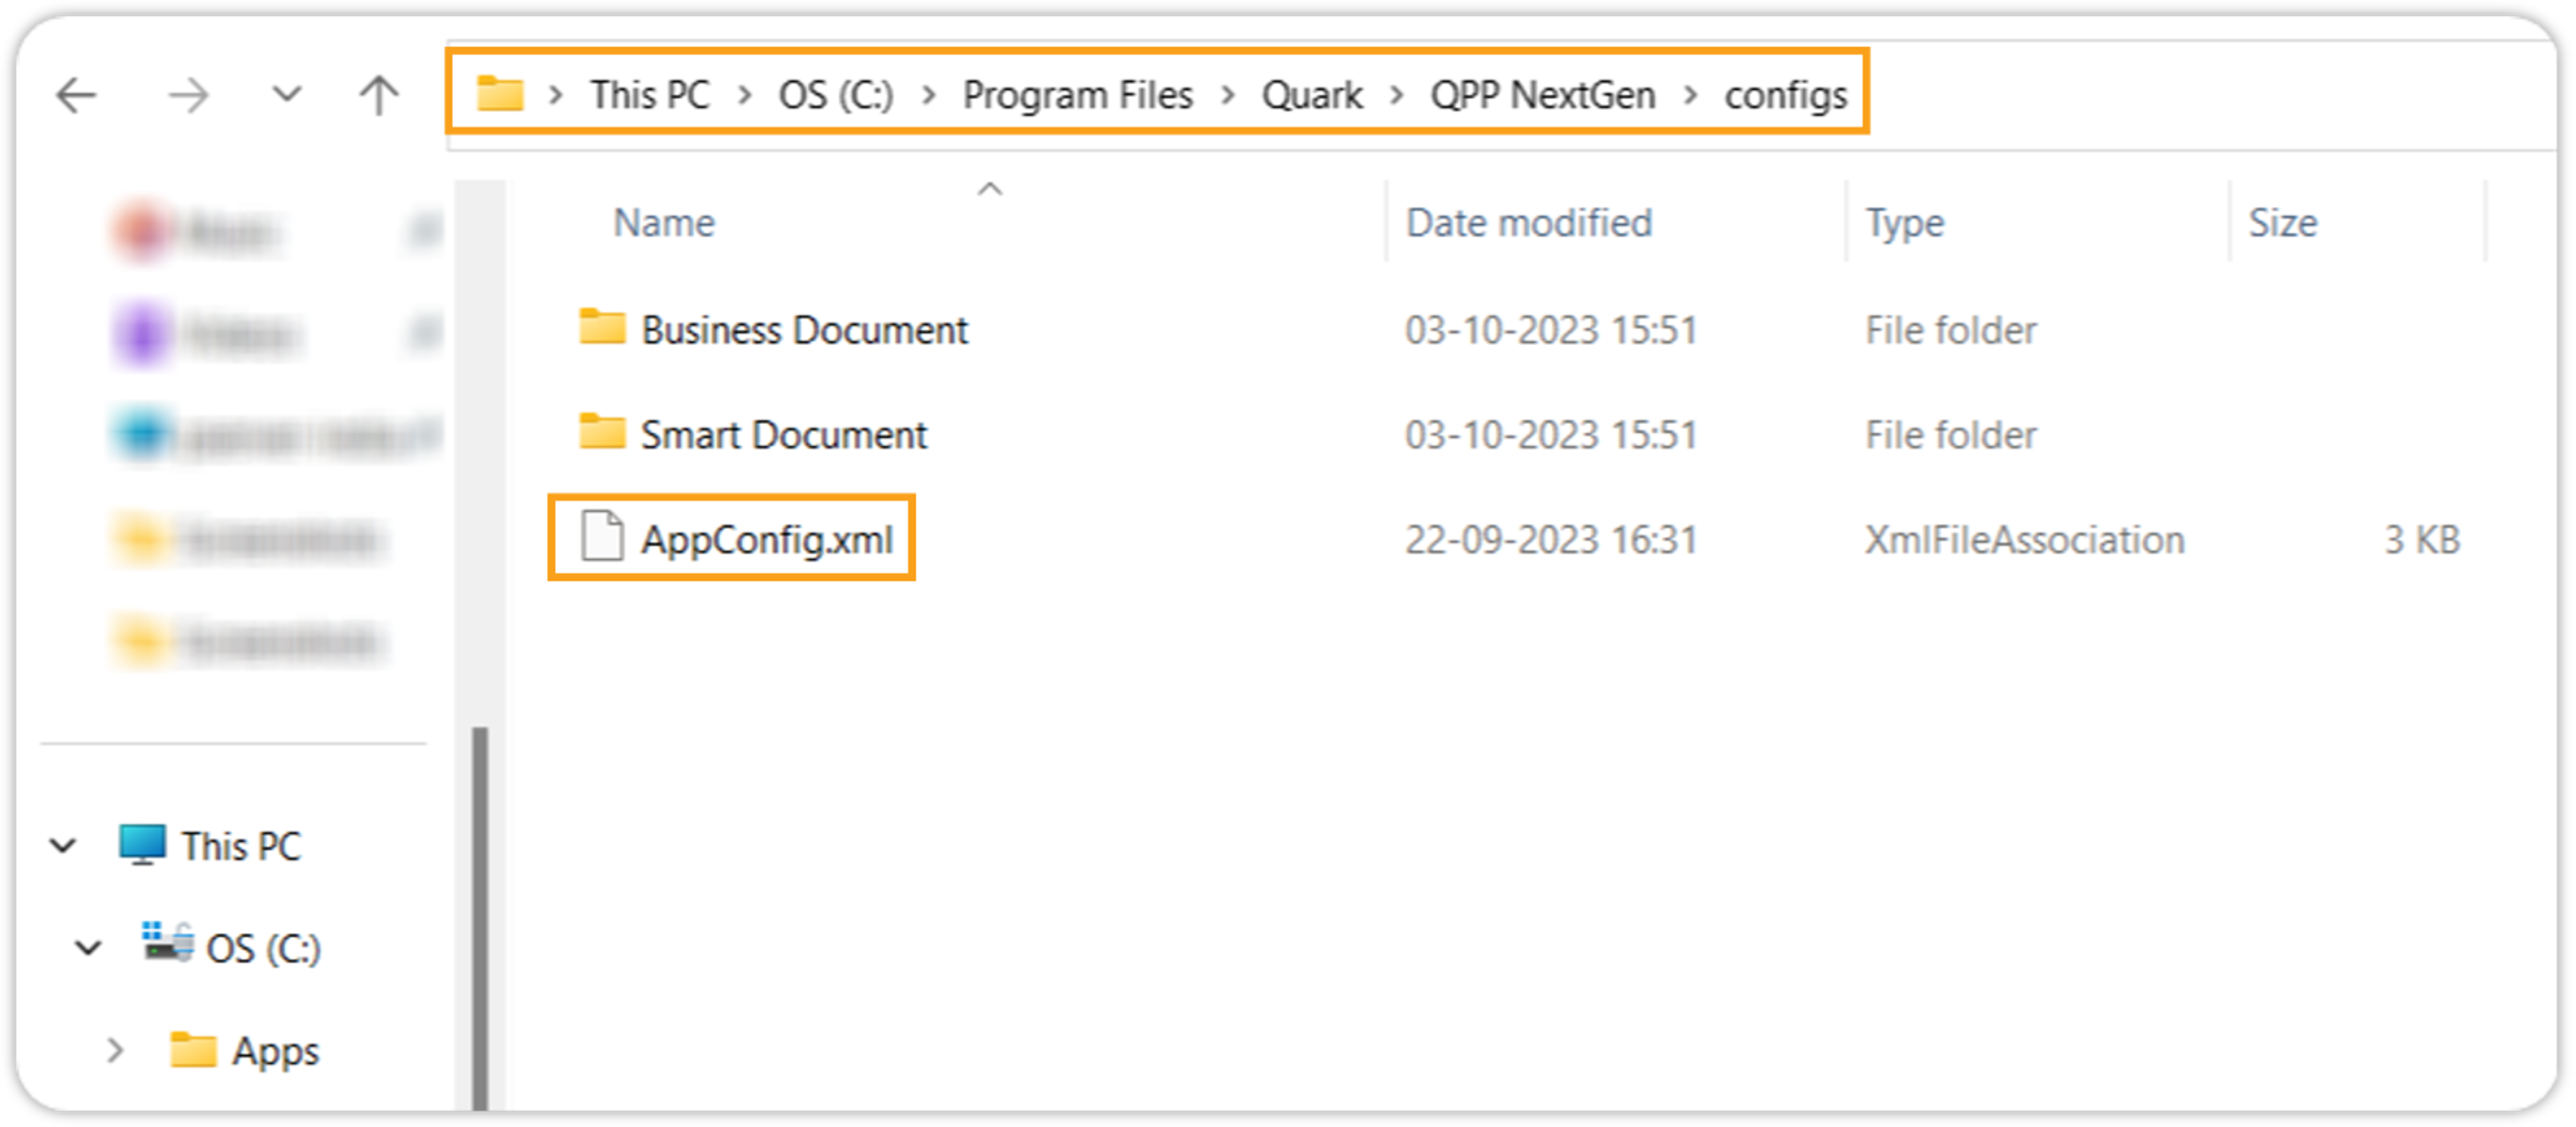
-
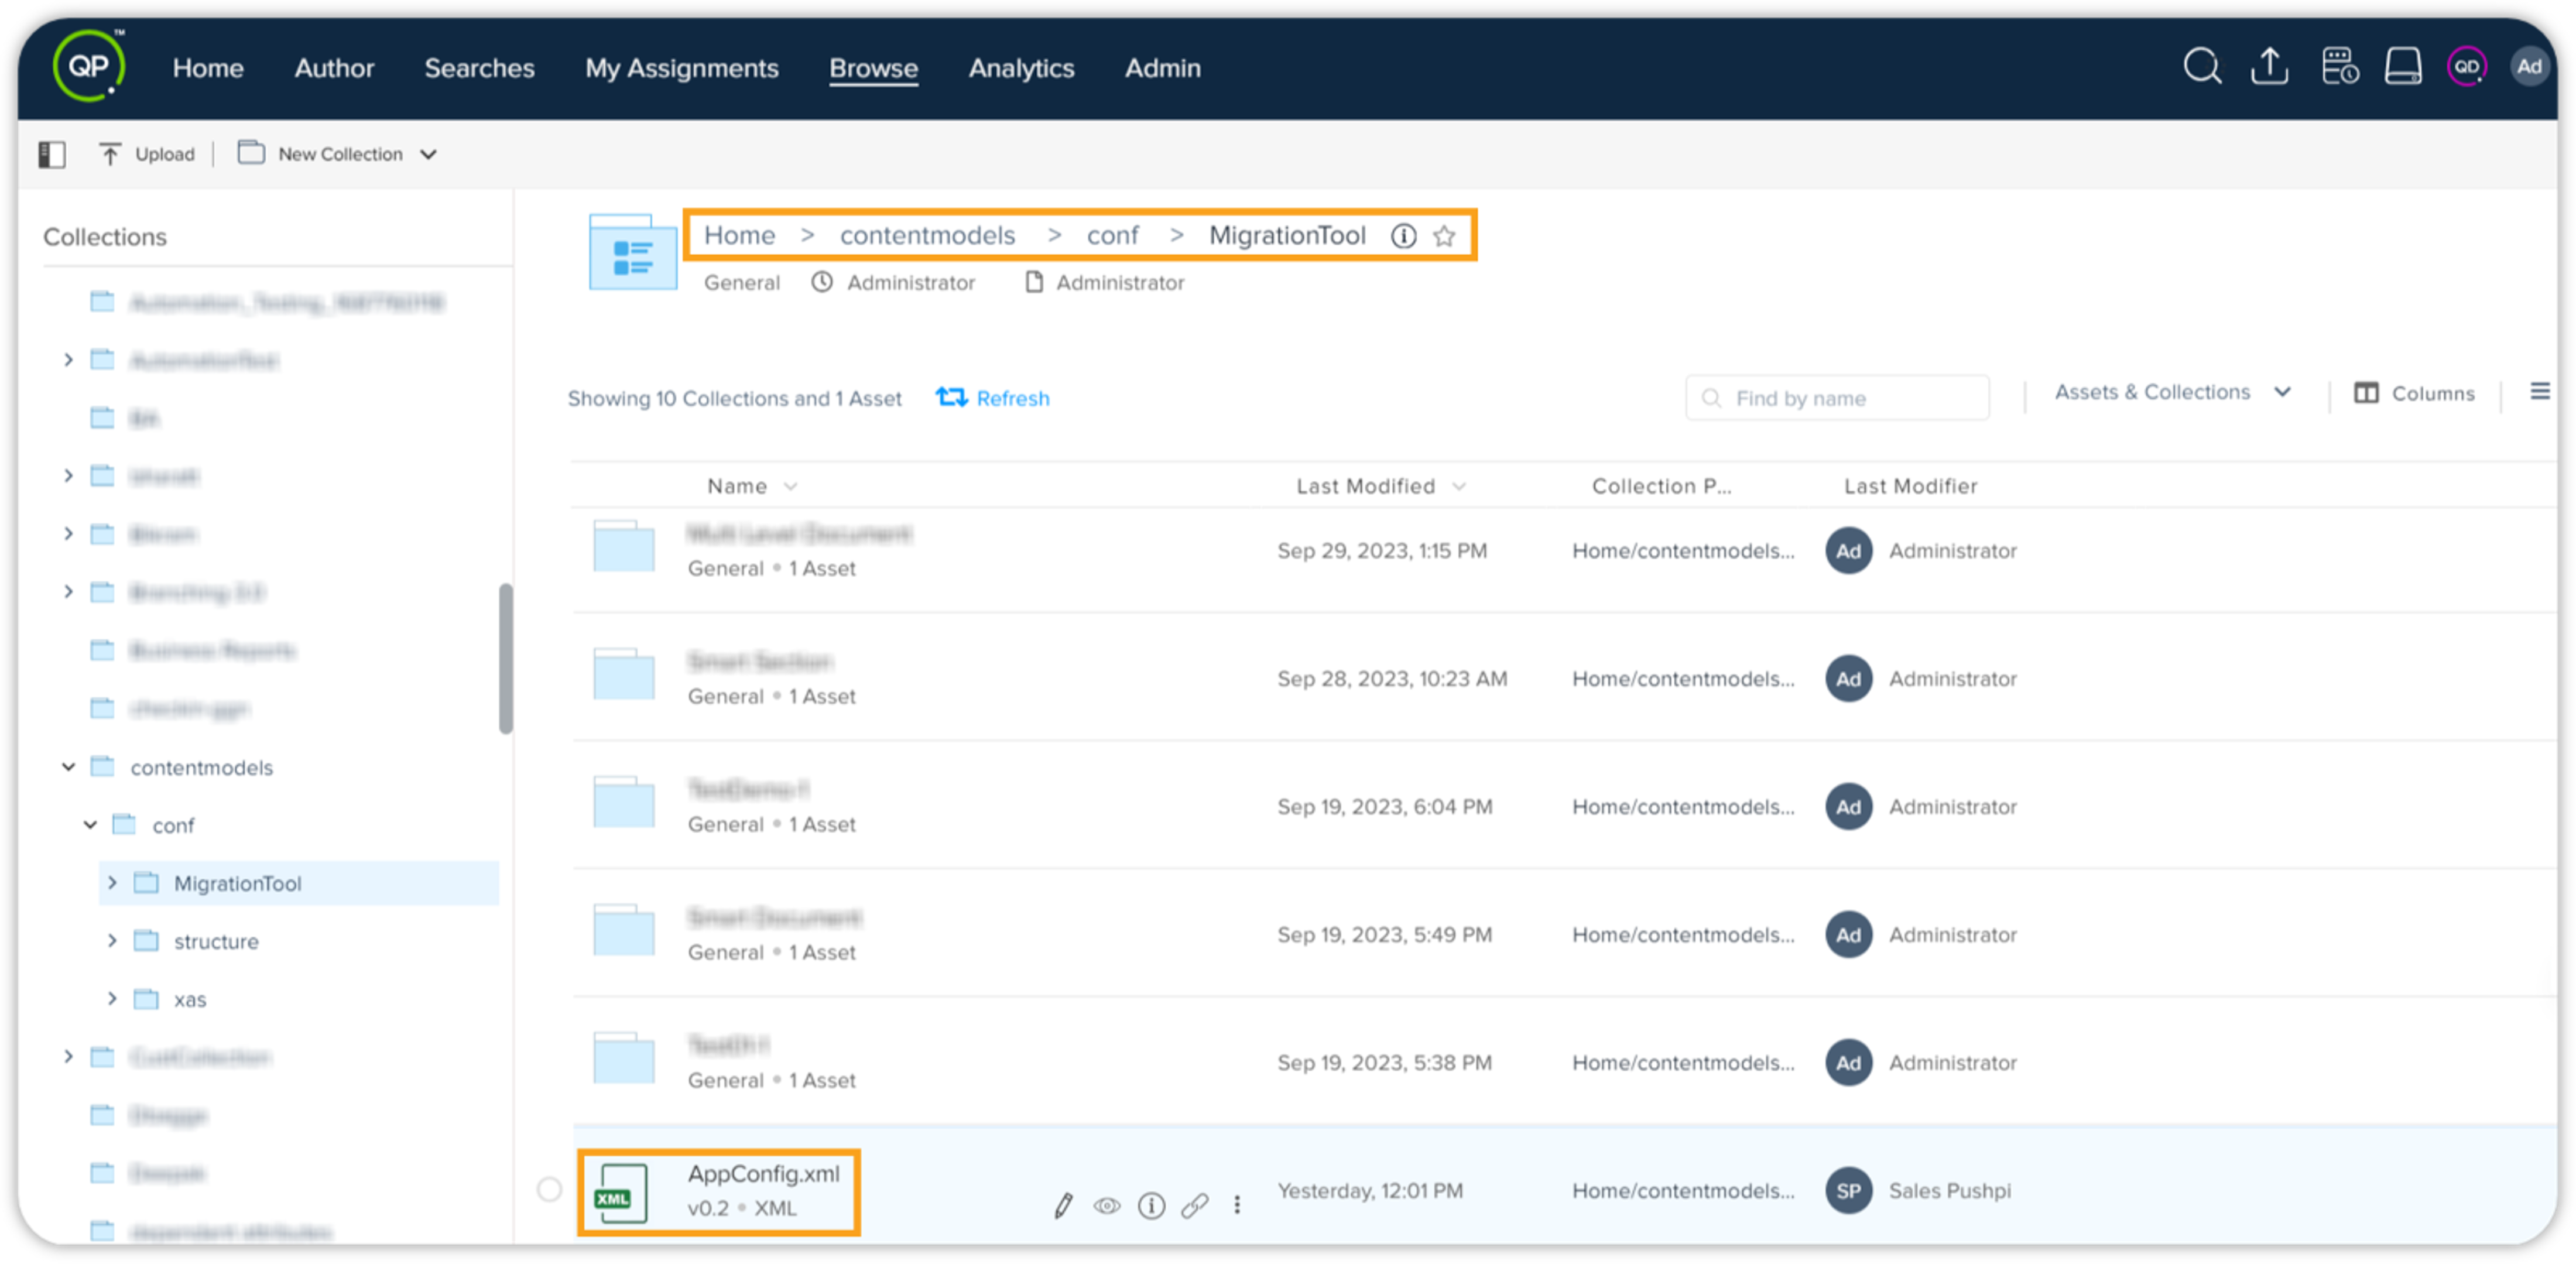
Upload the AppConfig.xml to the dynamic configuration collection MigrationTool on your QPP NextGen Server repository.
Upload StyleMapping.xml
By default, DOCX Converter supports two in-built content models available on a QPP NextGen server, which are Smart Document and BUSDOC. The StyleMapping.xml file for each of these content models is available in their respective folders in the Program Files.
The steps to upload StyleMapping.xml to QPP NextGen server are as follows –
-
On your local machine, go to the location
$Root> Program Files > Quark > QPP NextGen > configs > Content Model Name (for example, Smart Document).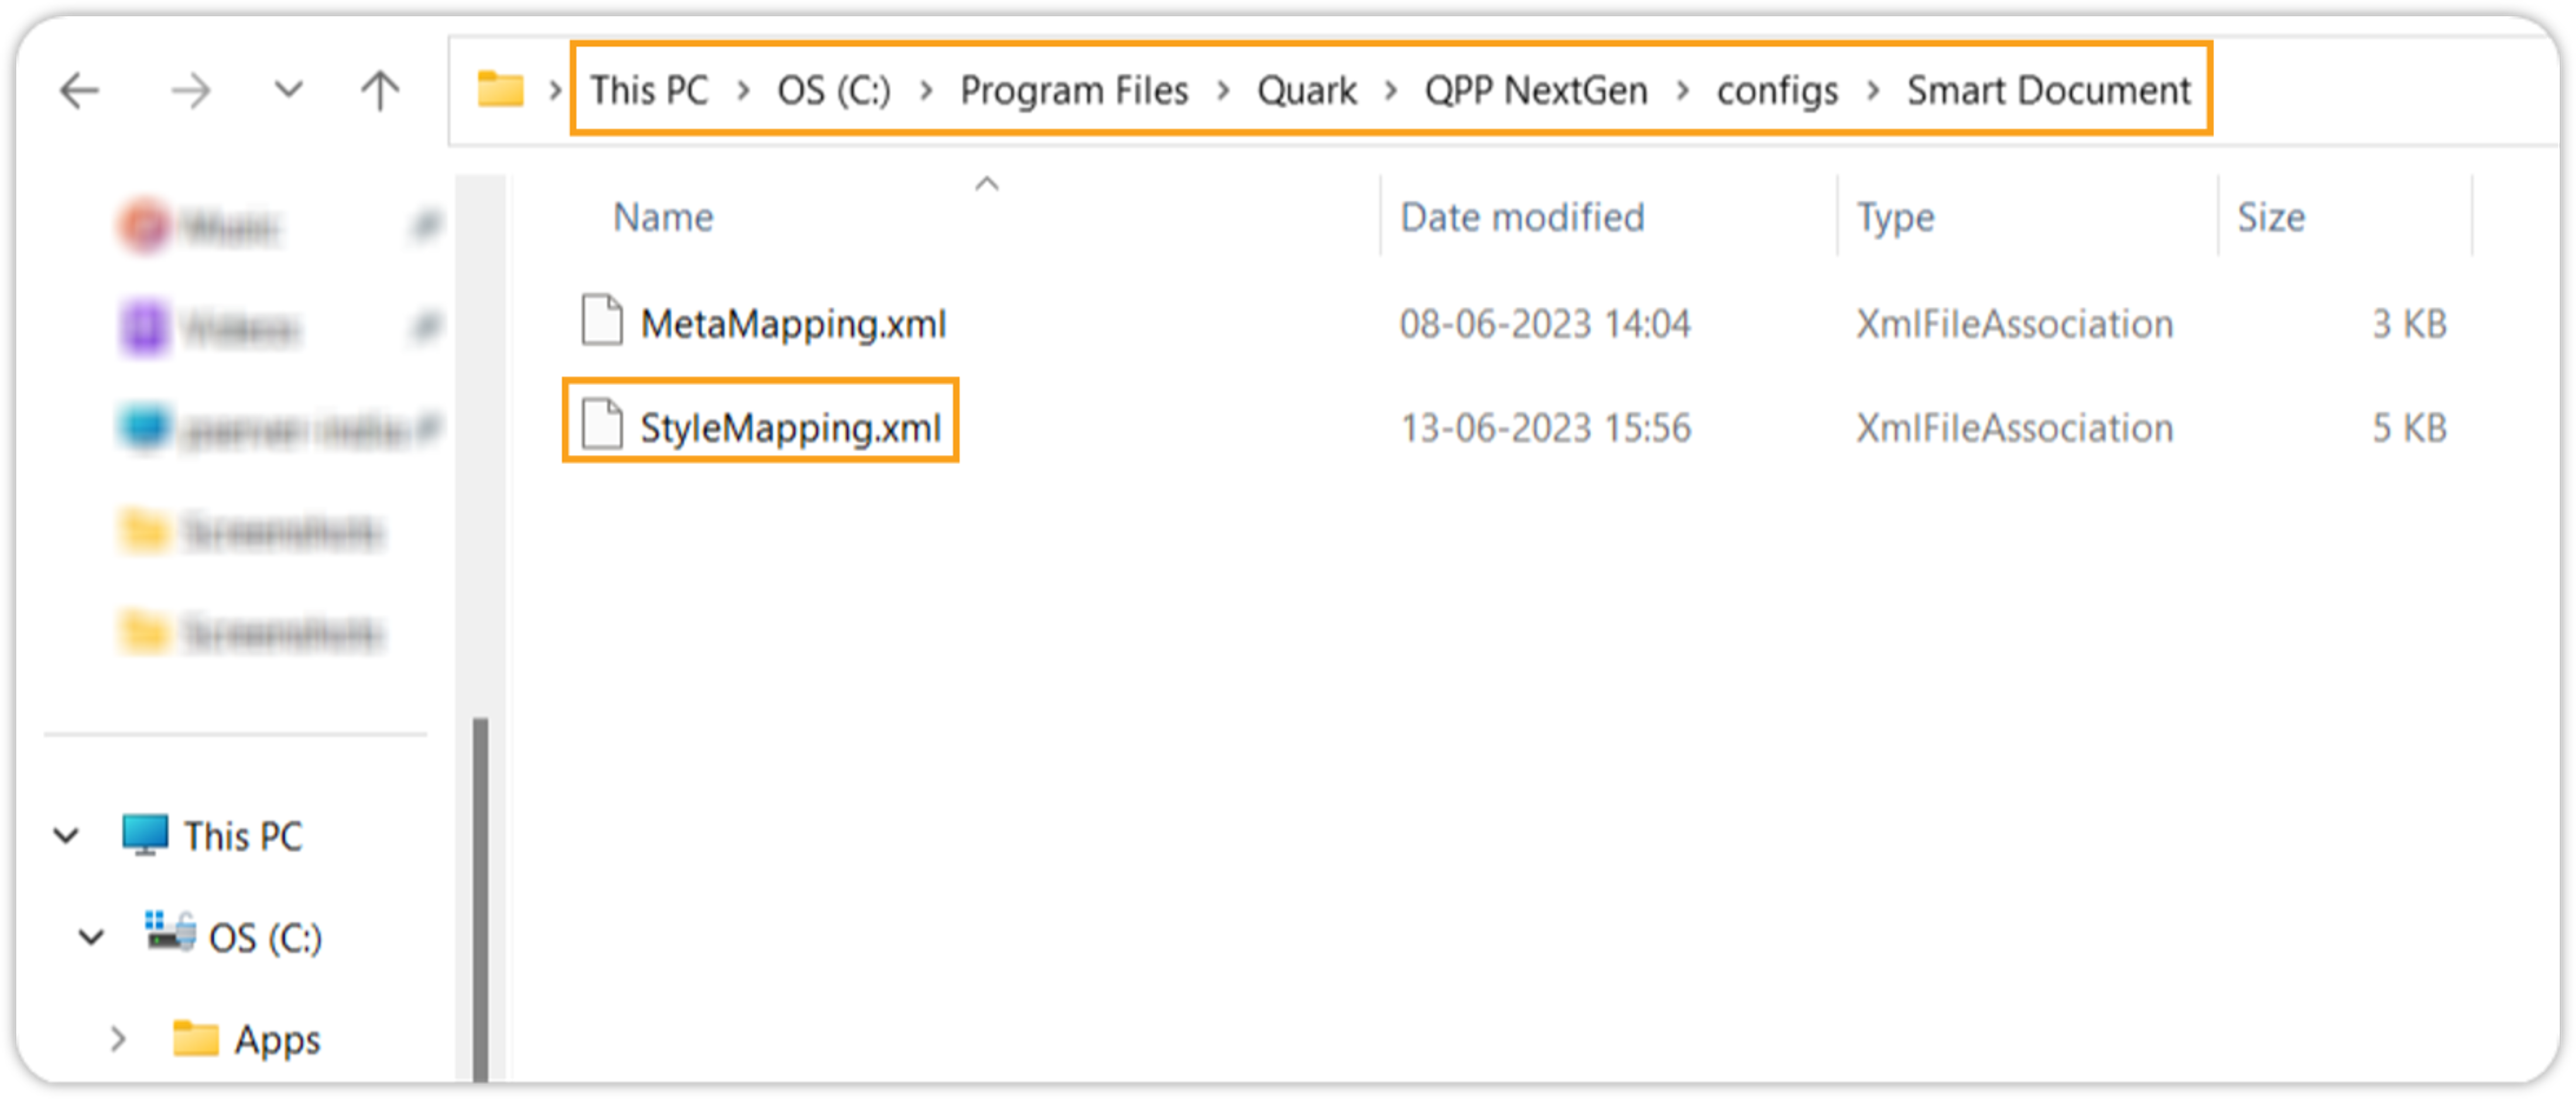
-
Create a copy of the file StyleMapping.xml elsewhere on the local machine.
-
Modify the copy of StyleMapping.xml based on the structure of your content model for which you want to add support in DOCX Converter.
-
Upload the modified StyleMapping.xml to the dynamic configuration collection for the content model (Content Model 1) on your QPP NextGen server repository.
Launch DOCX Converter and sync it with QPP NextGen Server repository
Before you can start the conversion process, you must sync your QPP NextGen Server with the DOCX Converter tool. To do that, follow the steps shown below –
-
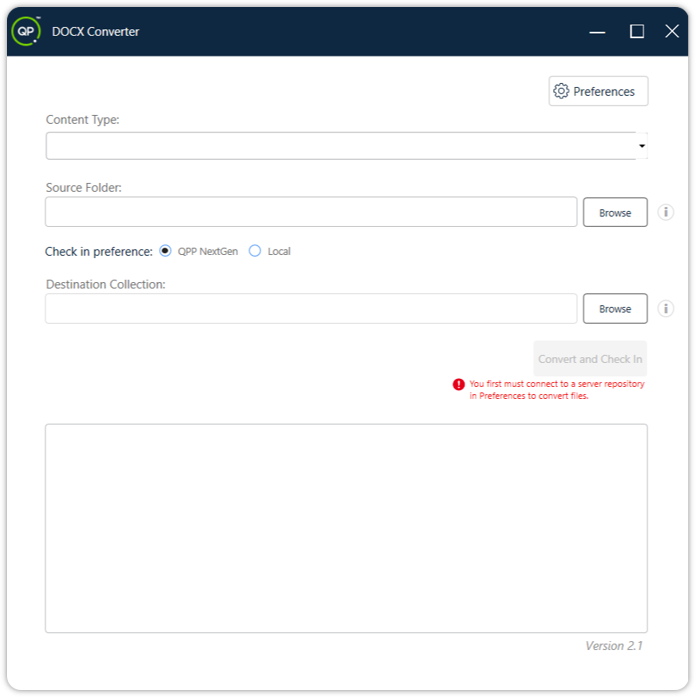
Firstly, launch the DOCX Converter tool on your system.
-
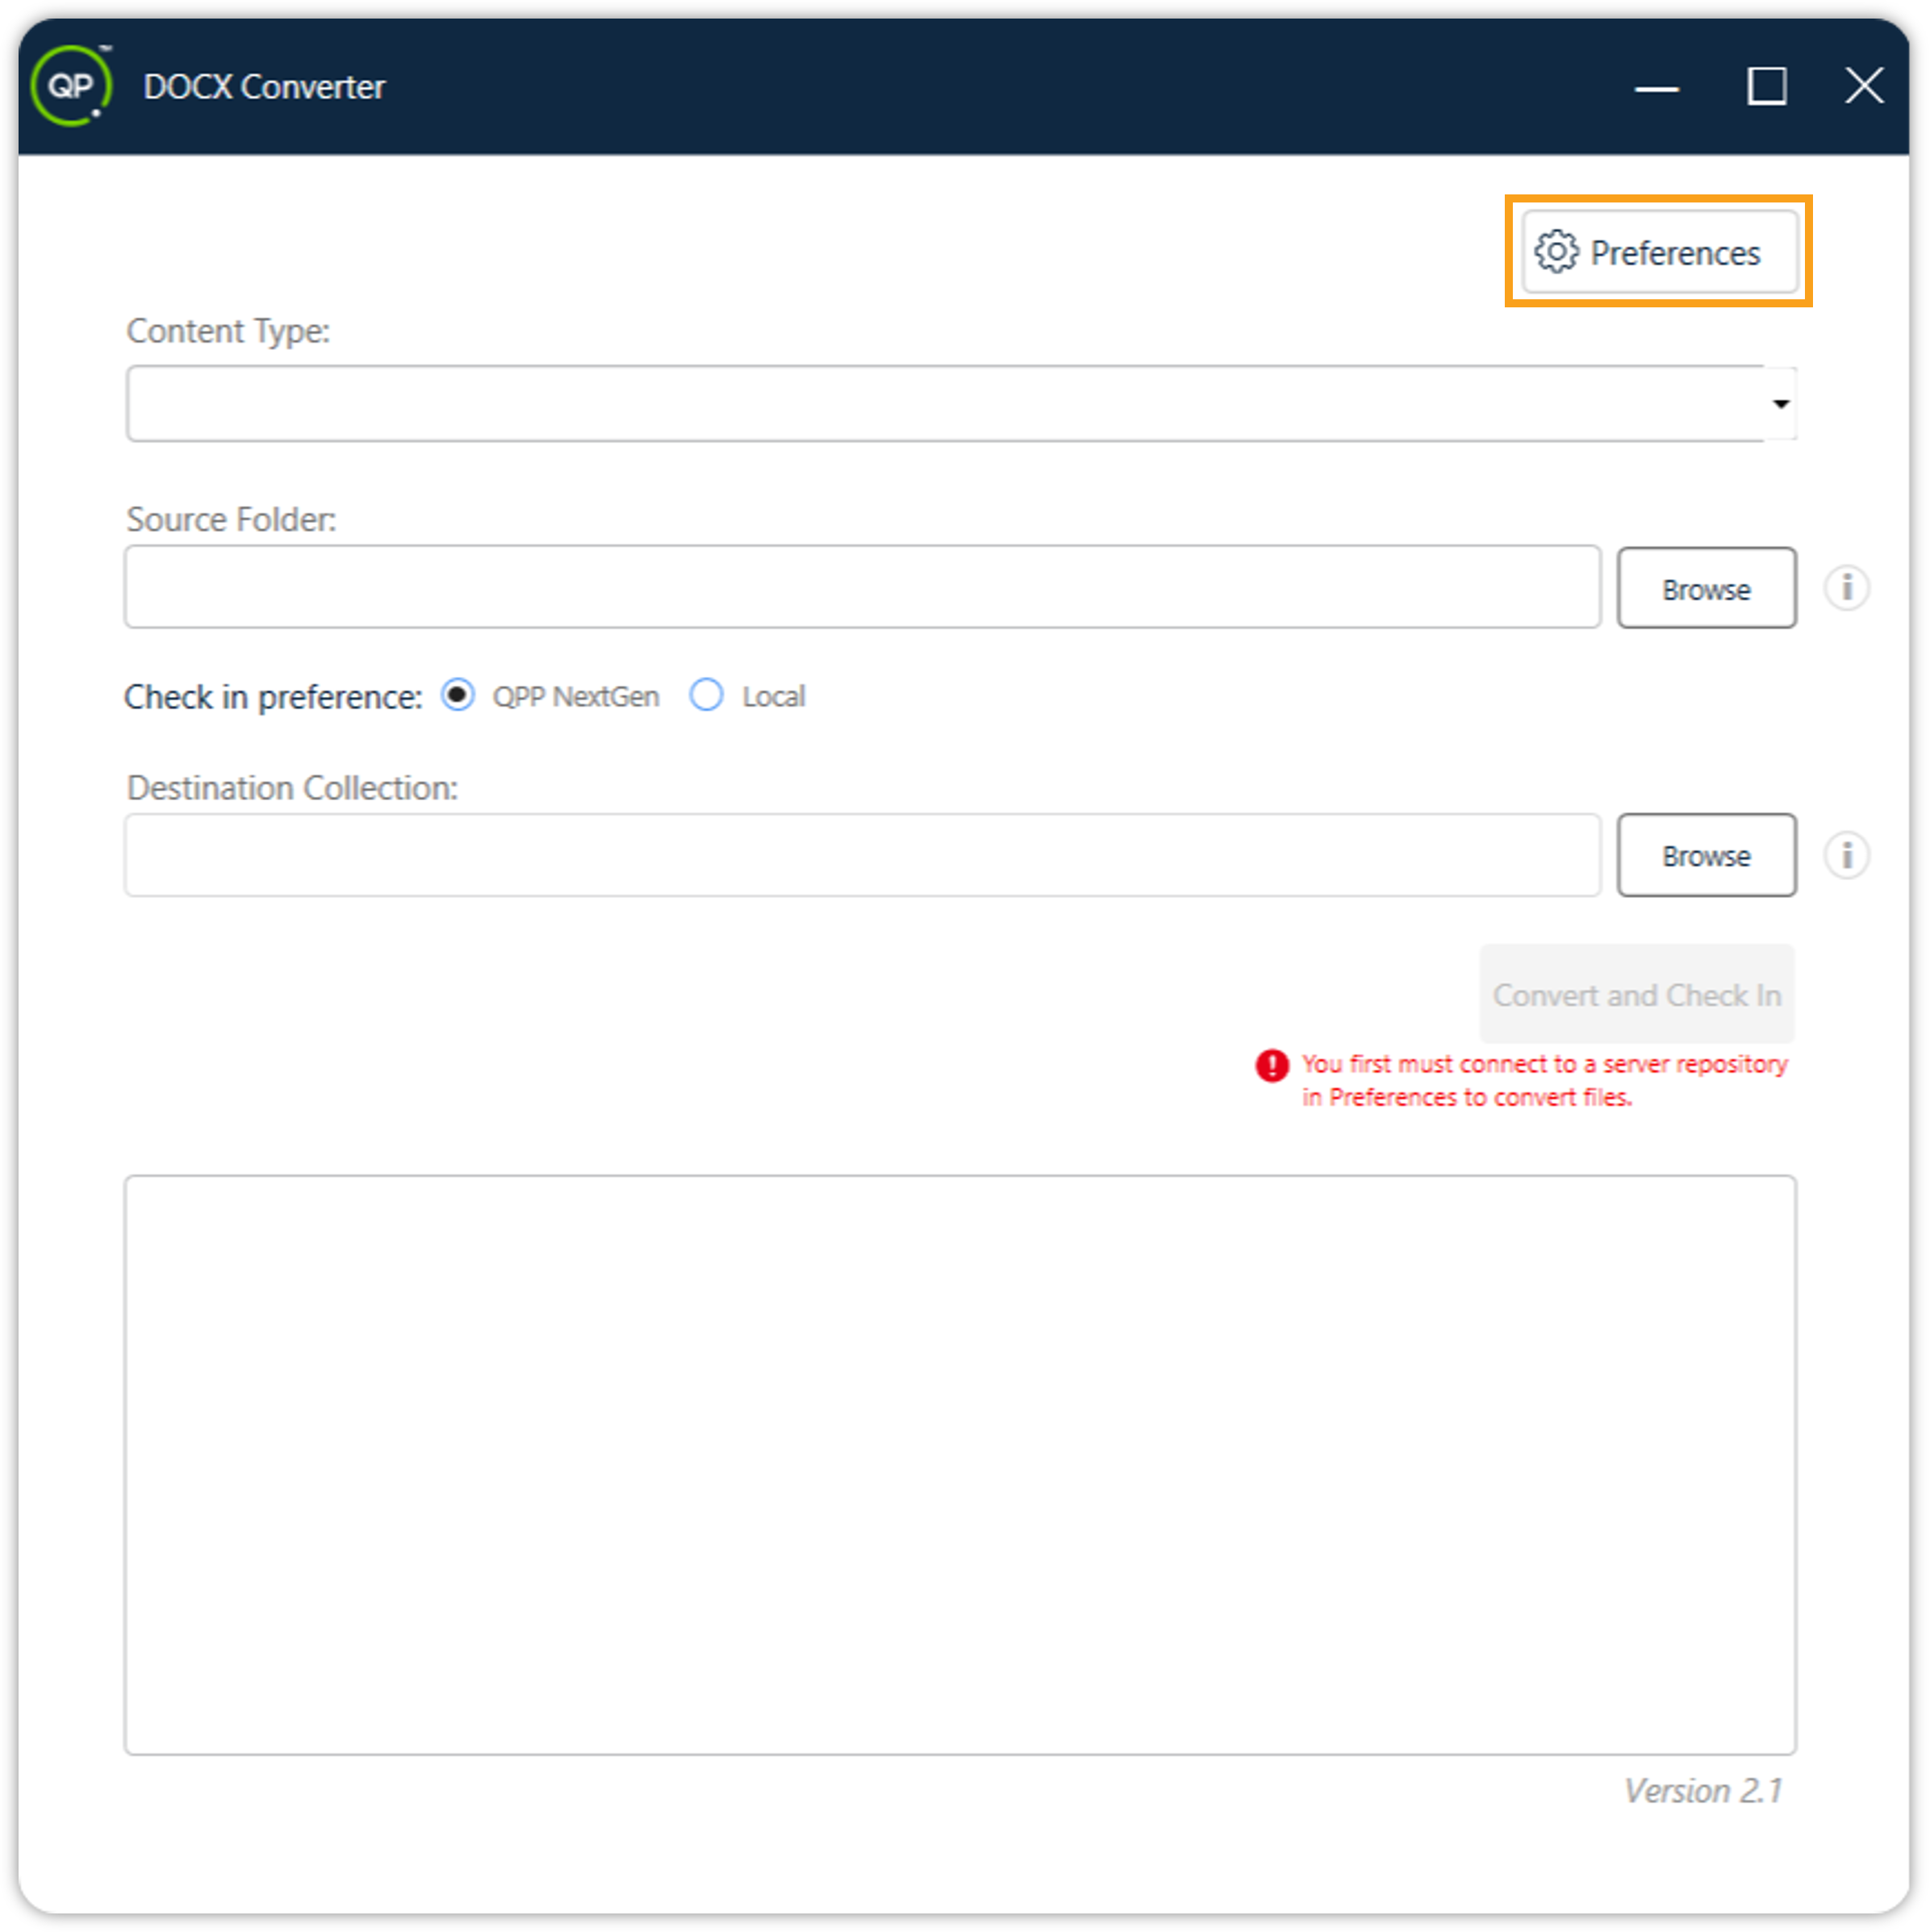
On the DOCX Converter window, click the Preferences button to open the Preferences window.
-
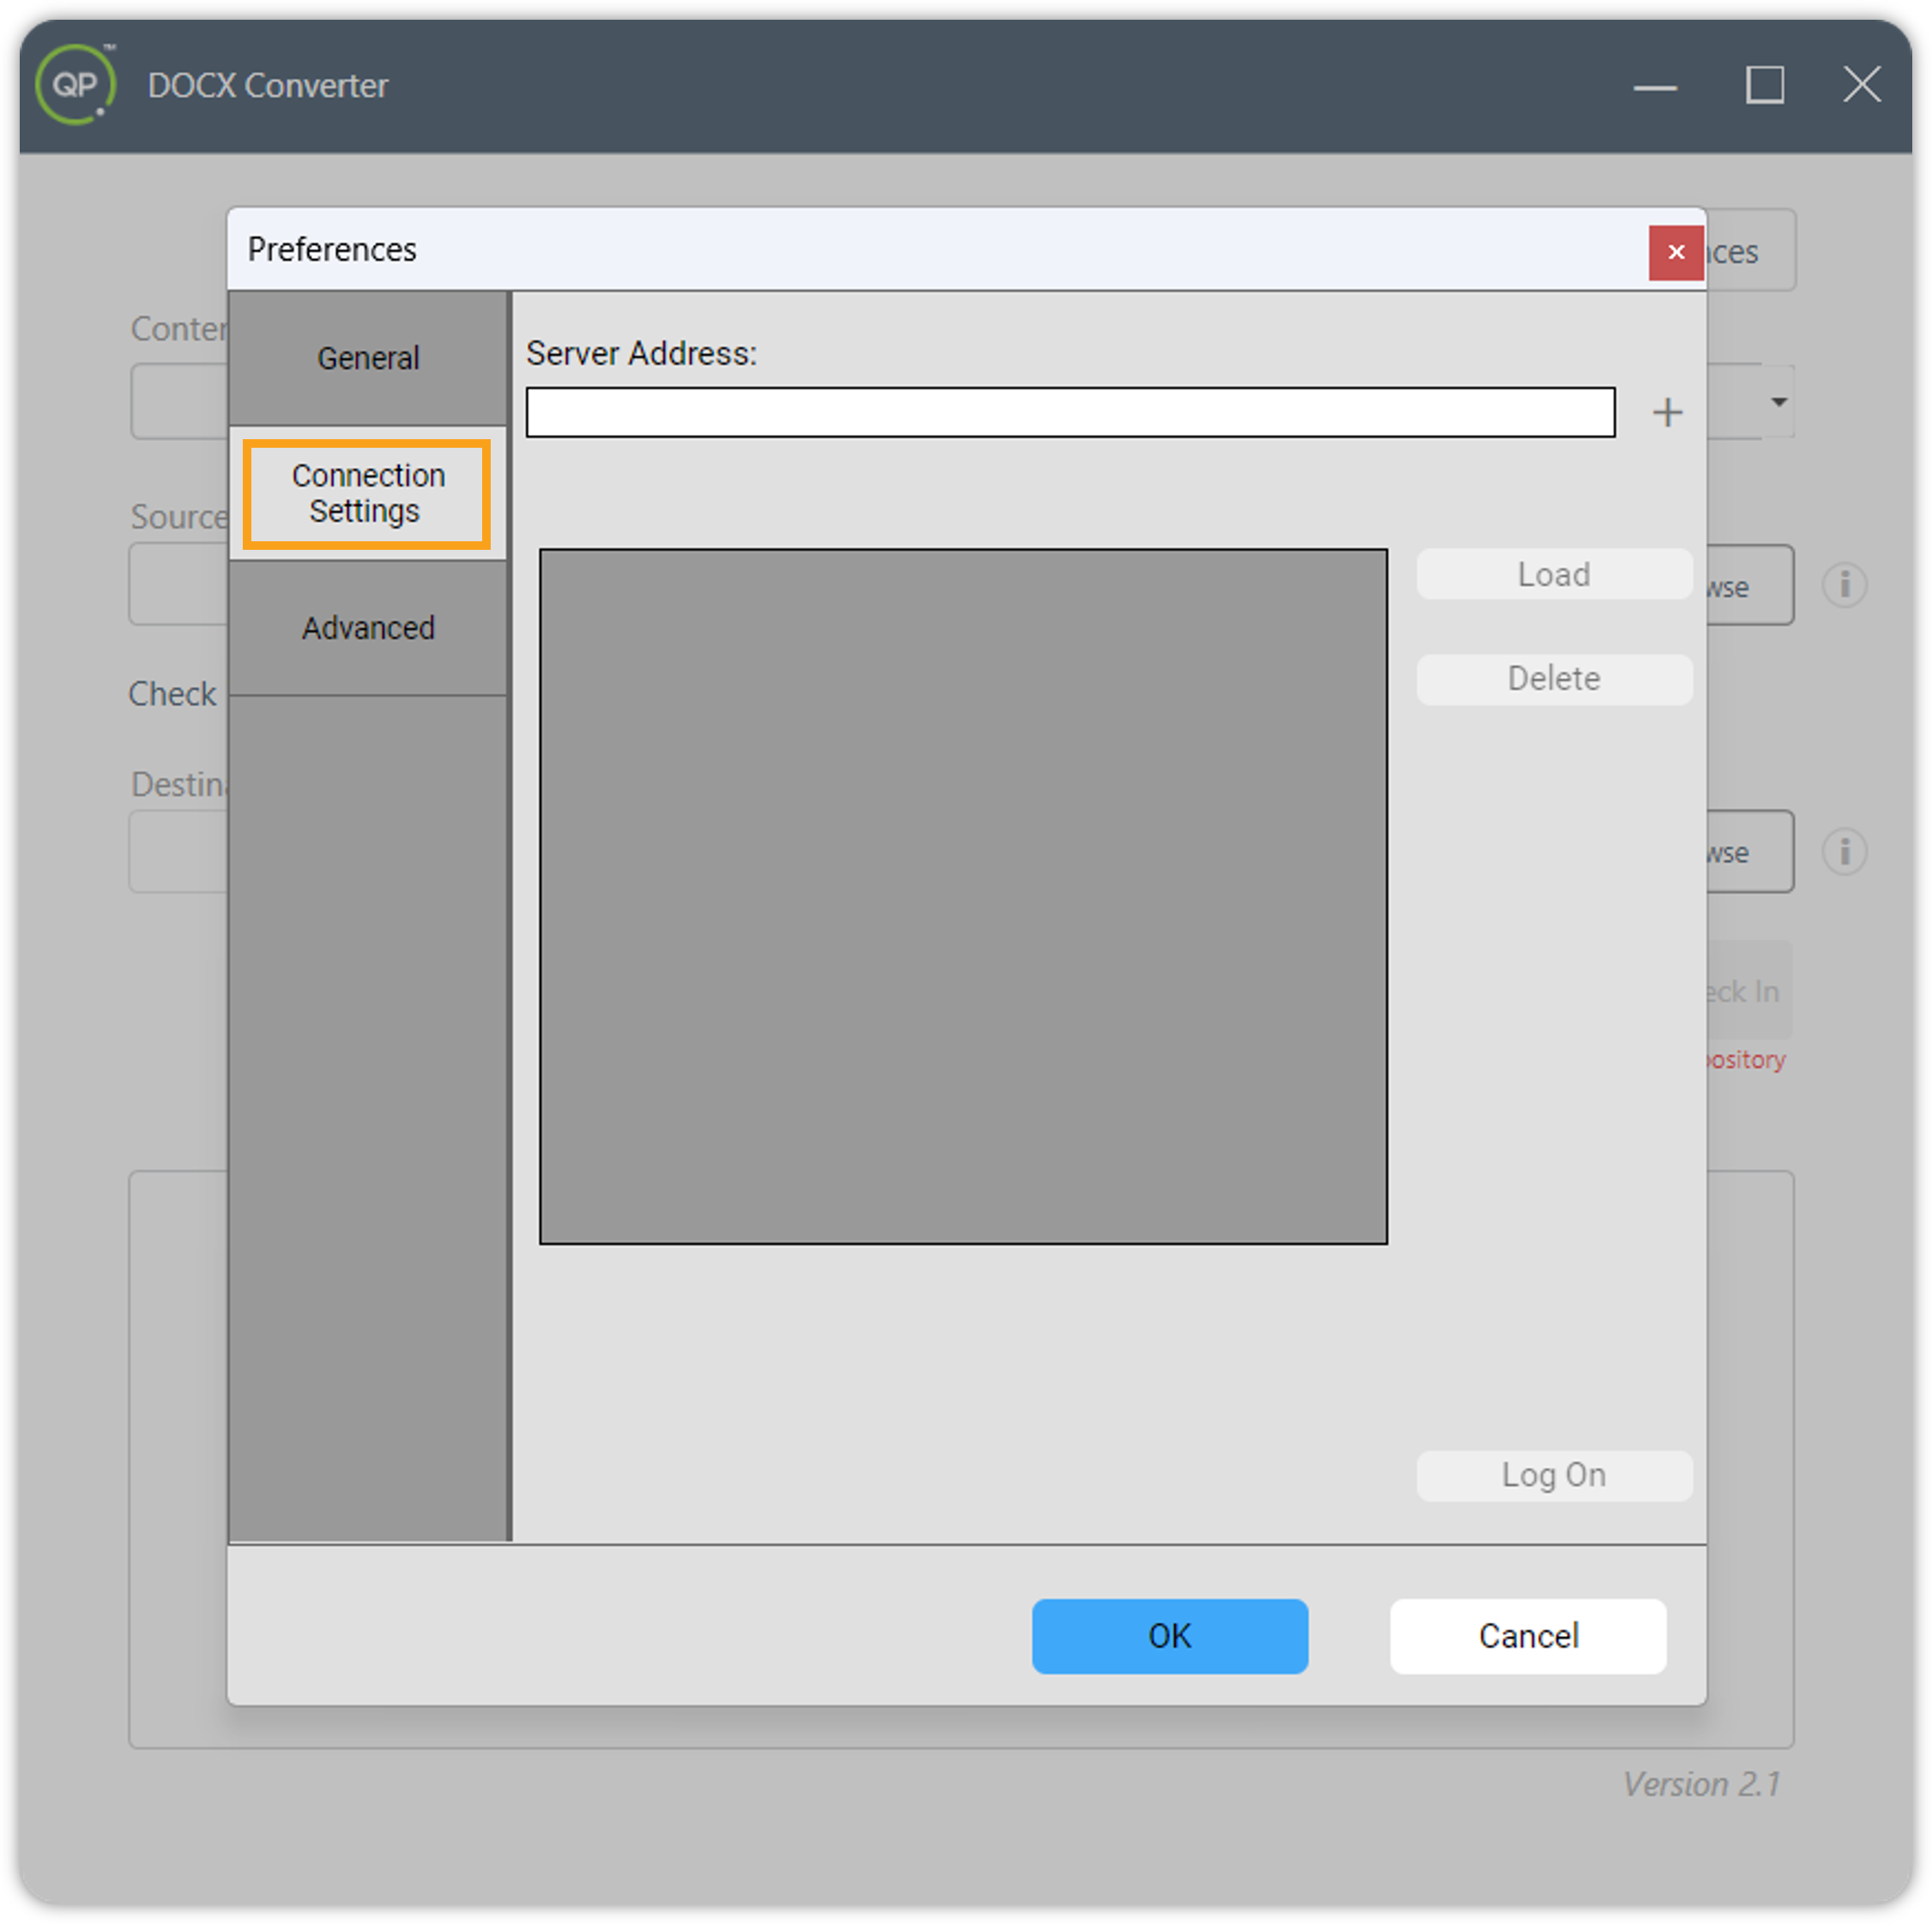
On the Preferences window, go to the tab Connection Settings.
-
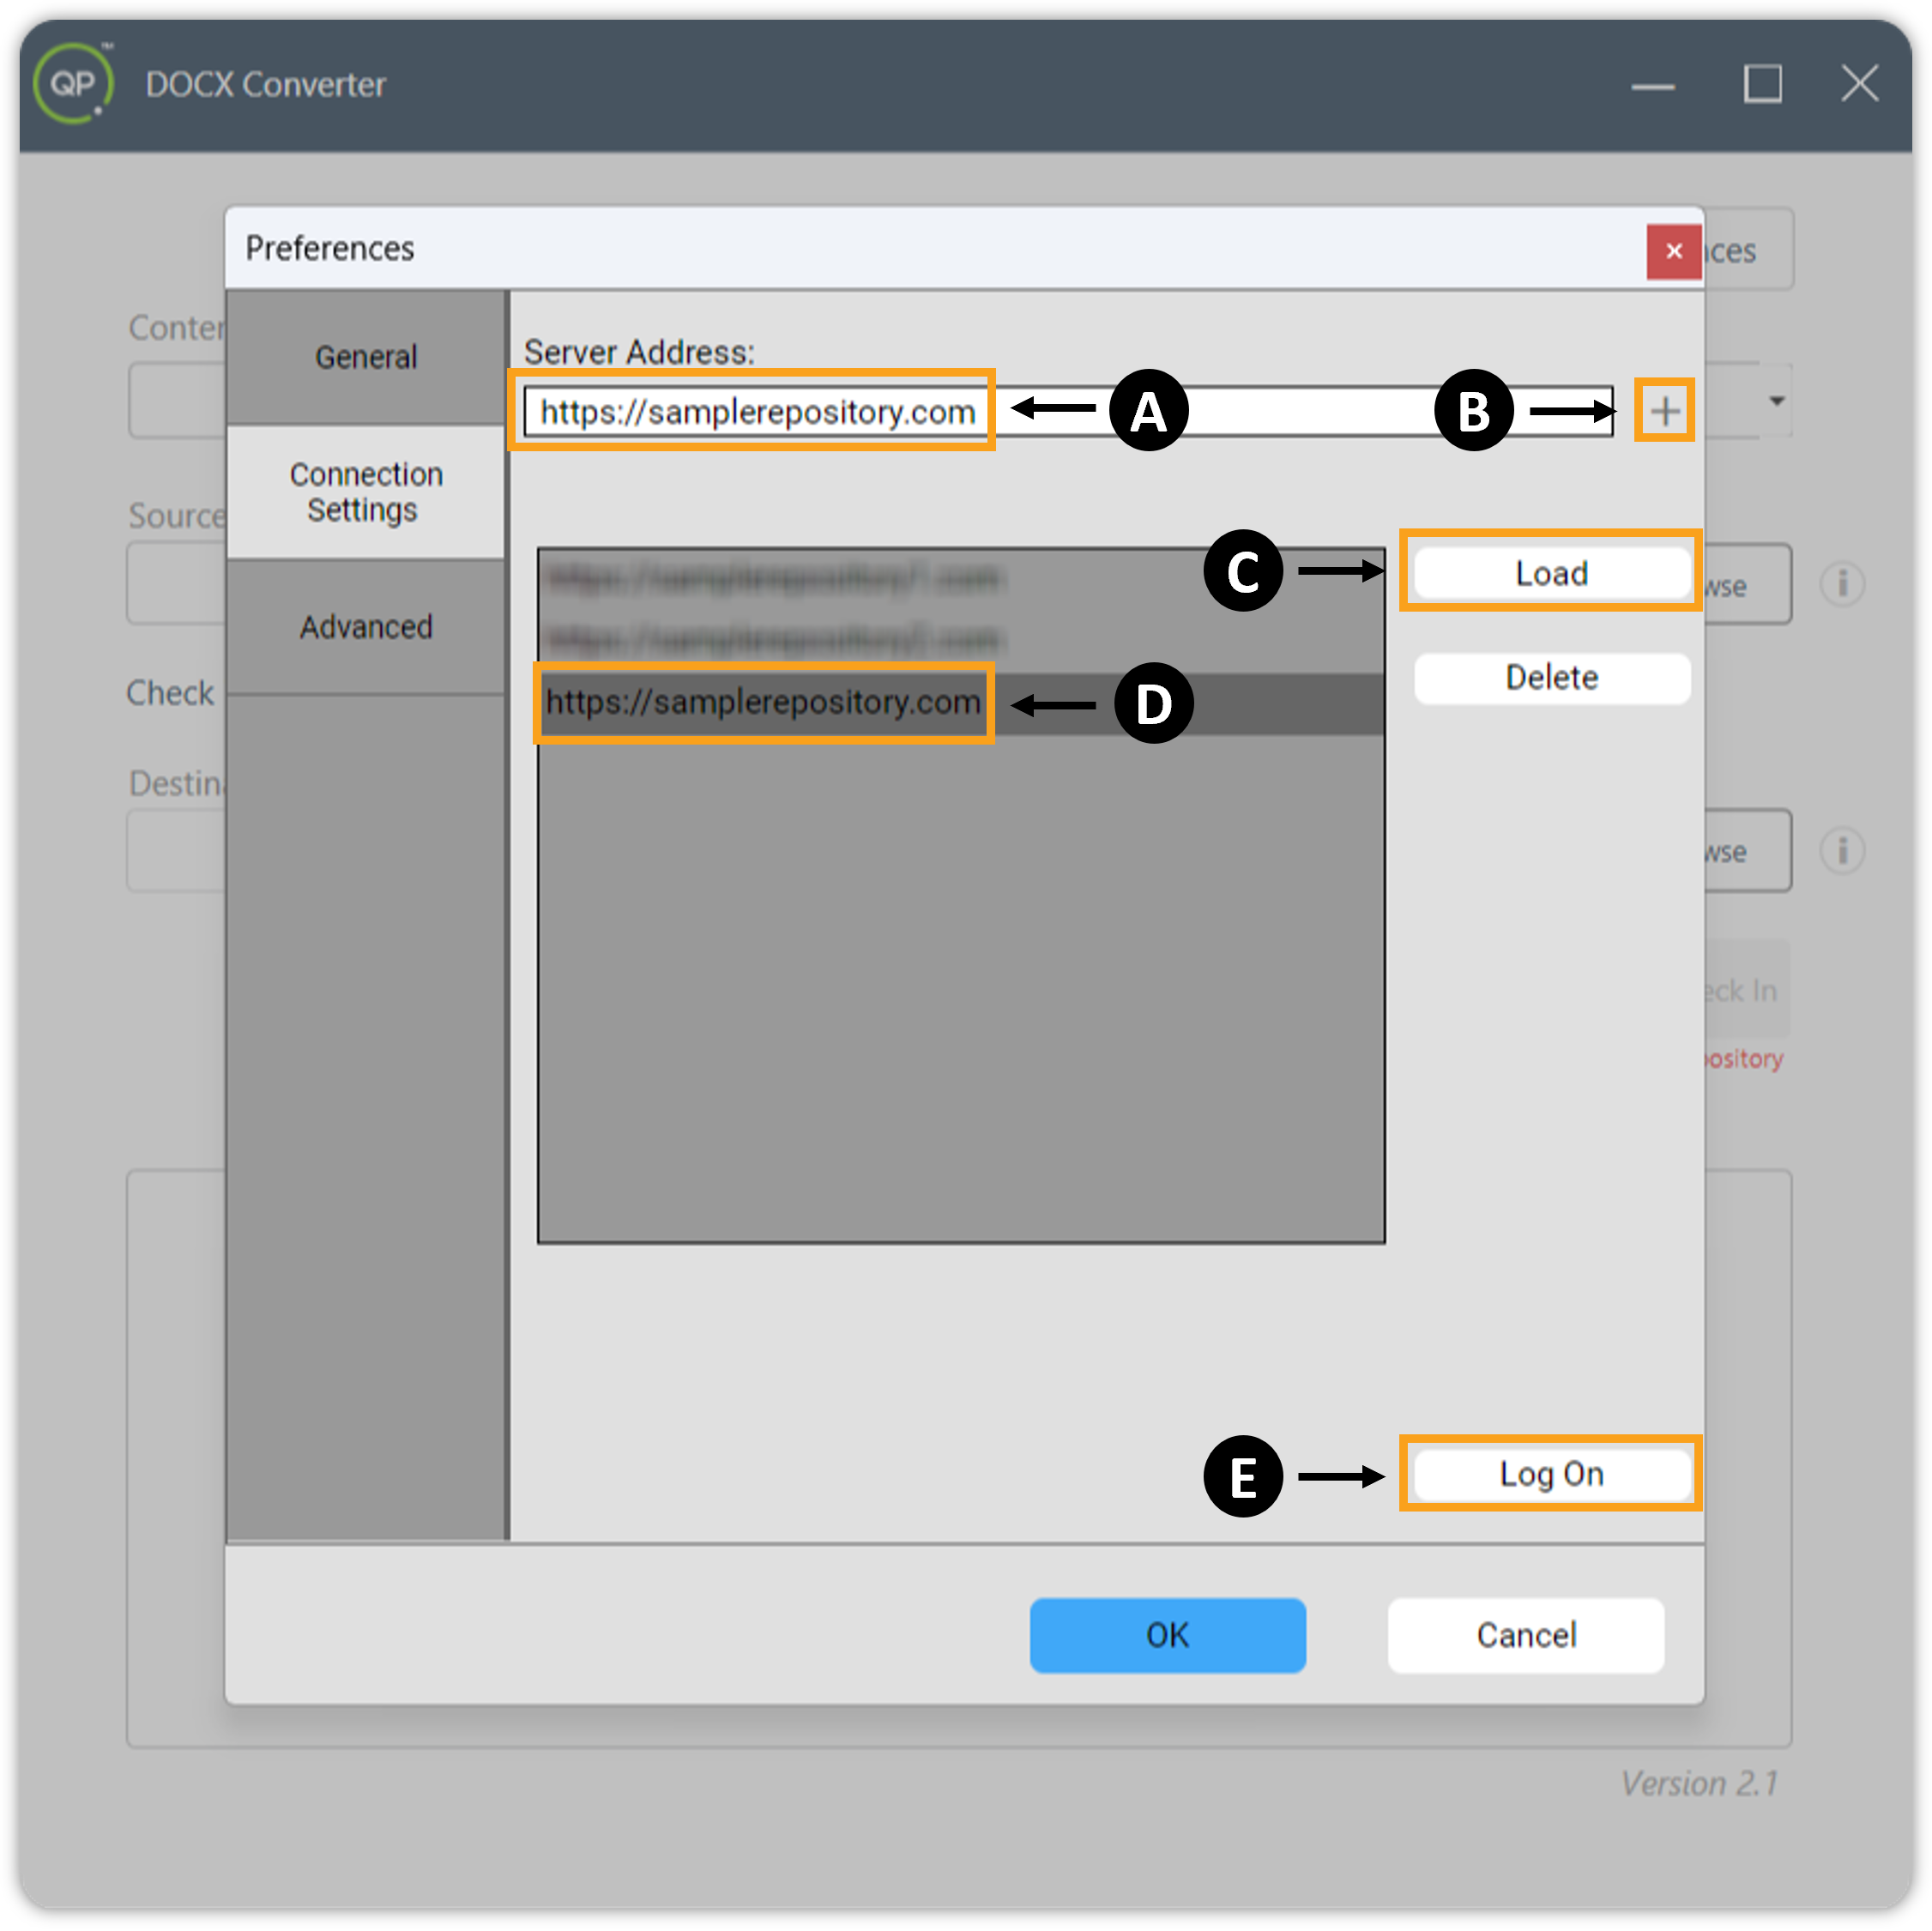
In the Connection Settings tab –
a). Enter the URL of the QPP NextGen server/repository you want to connect to.
b). Click the sign “+” to add the URL to the list of saved repositories.
c). Select the URL of the repository you just added.
d). Click Load.
e). Click Log On to open the Log On window of the repository.
-
On the Log On window, enter a valid set of administrator credentials of your QPP NextGen server and then click the button Login.
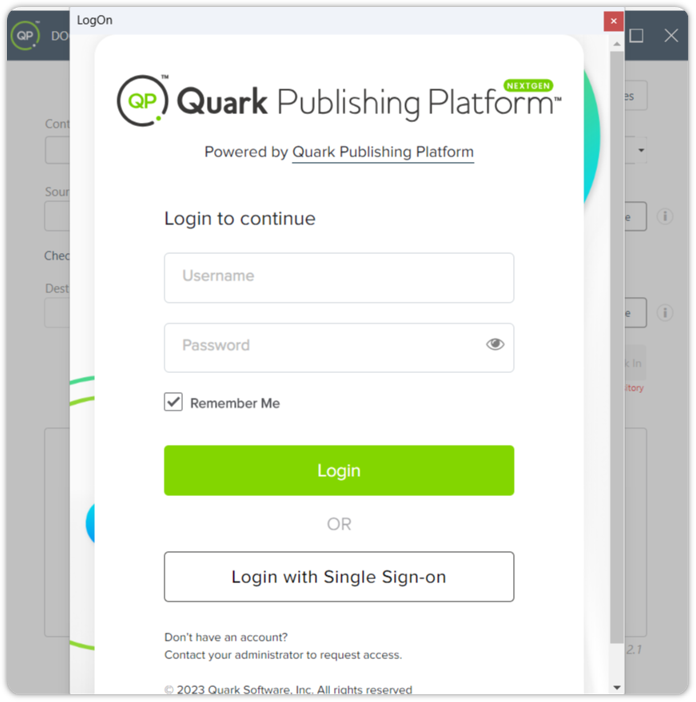 The Log On window disappears once you are logged in. And if your credentials are not valid or have expired, the Log On window displays an error message accordingly.
-
Click the OK button on the Preferences popup window.
-
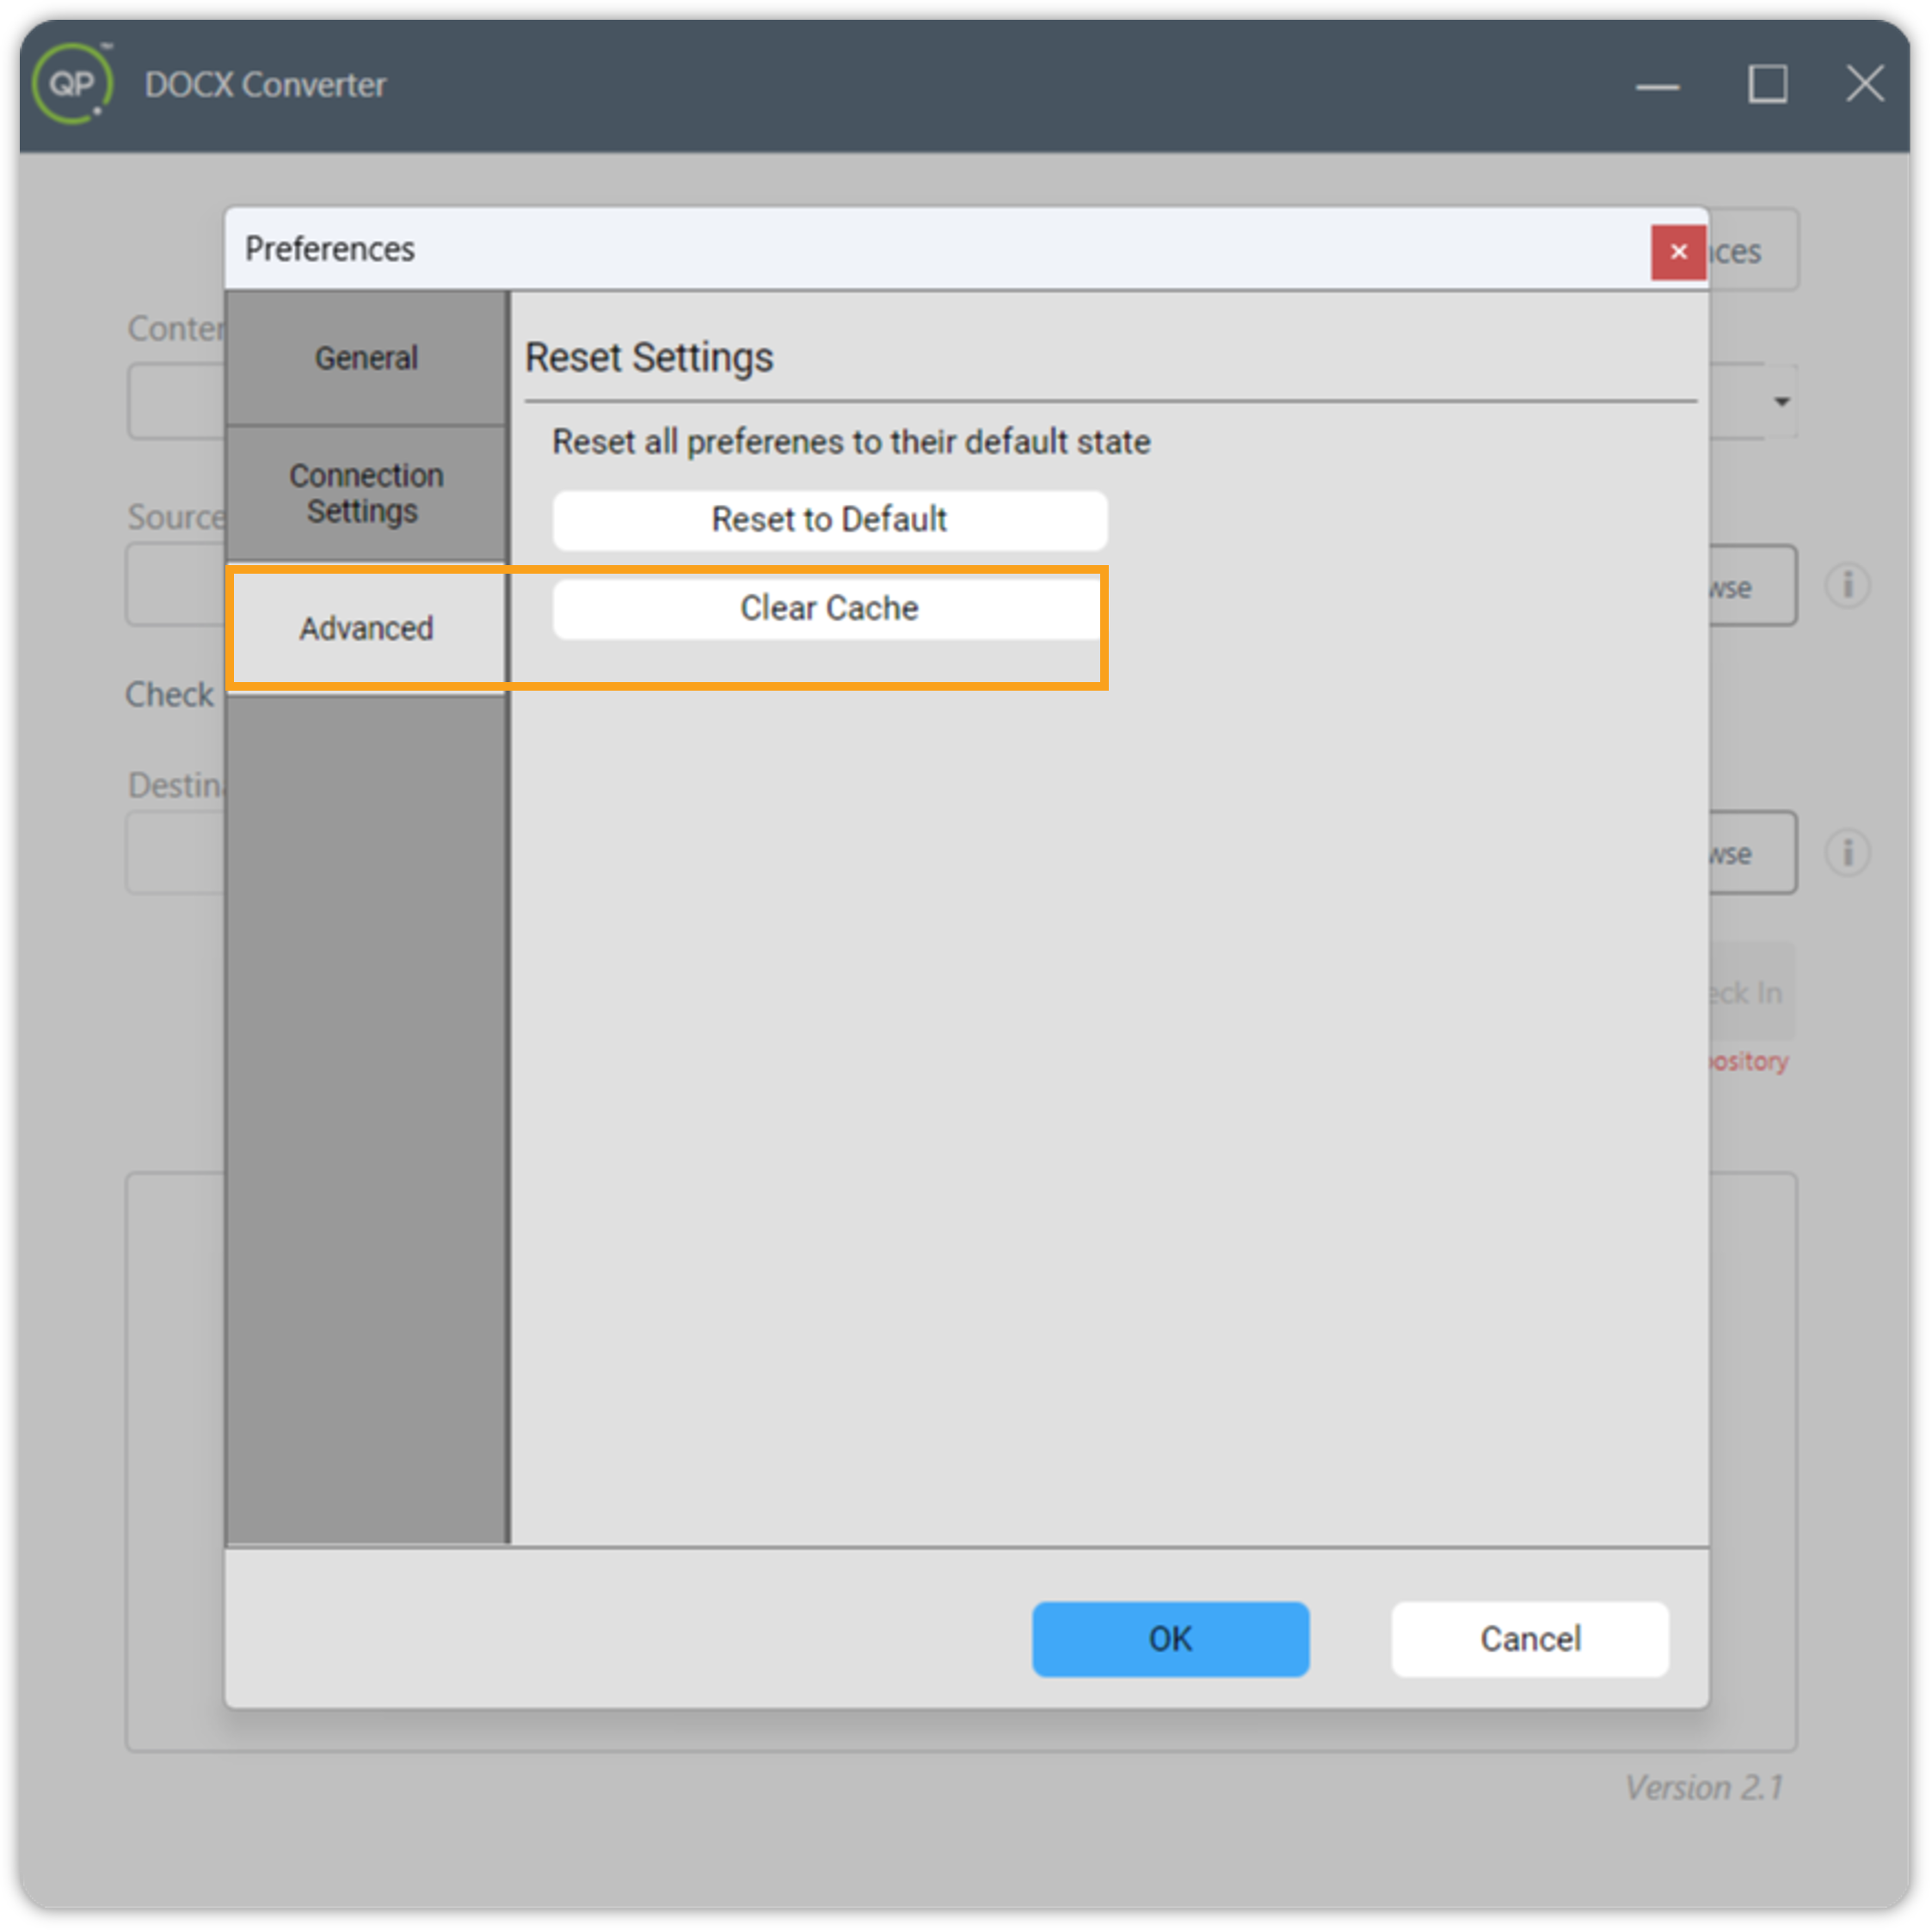
The Preferences window contains two more tabs: General and Advanced, which are non-functional and out-of-the-scope for this user guide except for the option to clear browser cache which is available under the Advanced tab.